Inktober Day 3. Crown

#inktober #inktober2025 #inktobercrown #crown #lotr #sauron

Inktober Day 2. Weave

Inktober day 2: Weave
inktober #inktober2025 #inktoberweave #weave

It Inktober time again

Inktober 2025 day 1: Moustache

#inktober #moustache #mustache #SalvadorDali

I’ve peaked too early this year.

Let’s keep it going everyday this year!

Flip Book of the Rings!

Before

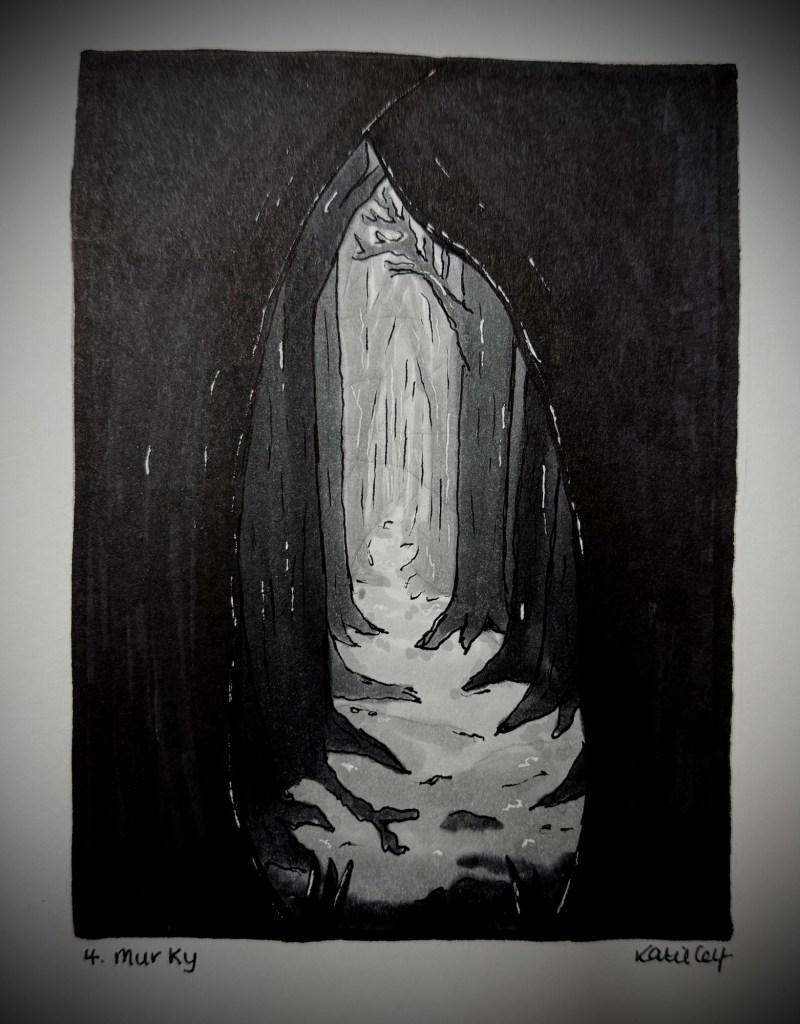
I was really lucky to be able to take part in Andymation’s Flipbook Fest 2025! This year Flipbook Fest has taken the form of creating a Flipbook version of Lord of the Rings The Fellowship of the Ring. Absolutely crazy!

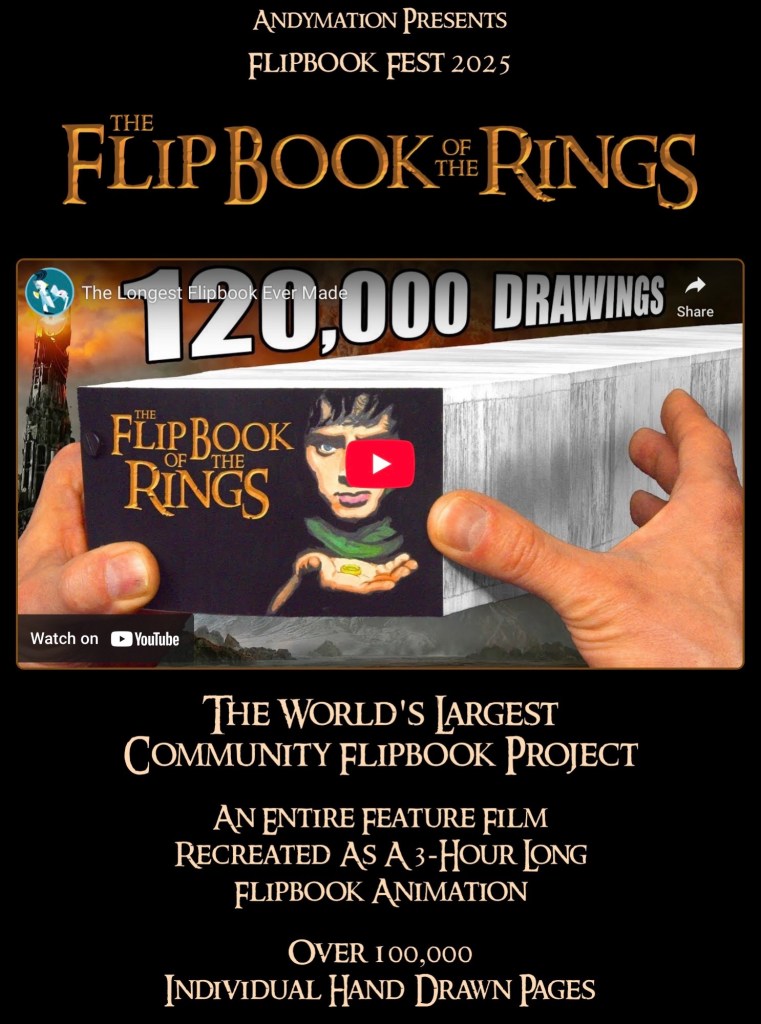
All the clips were claimed super quick, but I eventually managed to get one after some had been unclaimed. My clip is 107 frames, 107 individual drawings! It’s of the fellowship entering the mines of Moria for the first time. One of my (many) favourite parts of the film.

BTW Did I mention I’m a massive LOTR nerd?!

They’re my absolute favourite films of all time. I went to see them all in the cinema when they came out and I don’t even know how many times I’ve watched them at home. Basically I love these films and as soon as I found out about this project I knew I’d have to do it! I literally didn’t even care what clip I had, I just wanted to be part of it.

After

I made a short video about making my Flipbook, which includes my finished Flipbook. Hope you like it!

I made a silly Tiktok which has tickled me

Over on my Tiktok

The Badge Cave is Open!

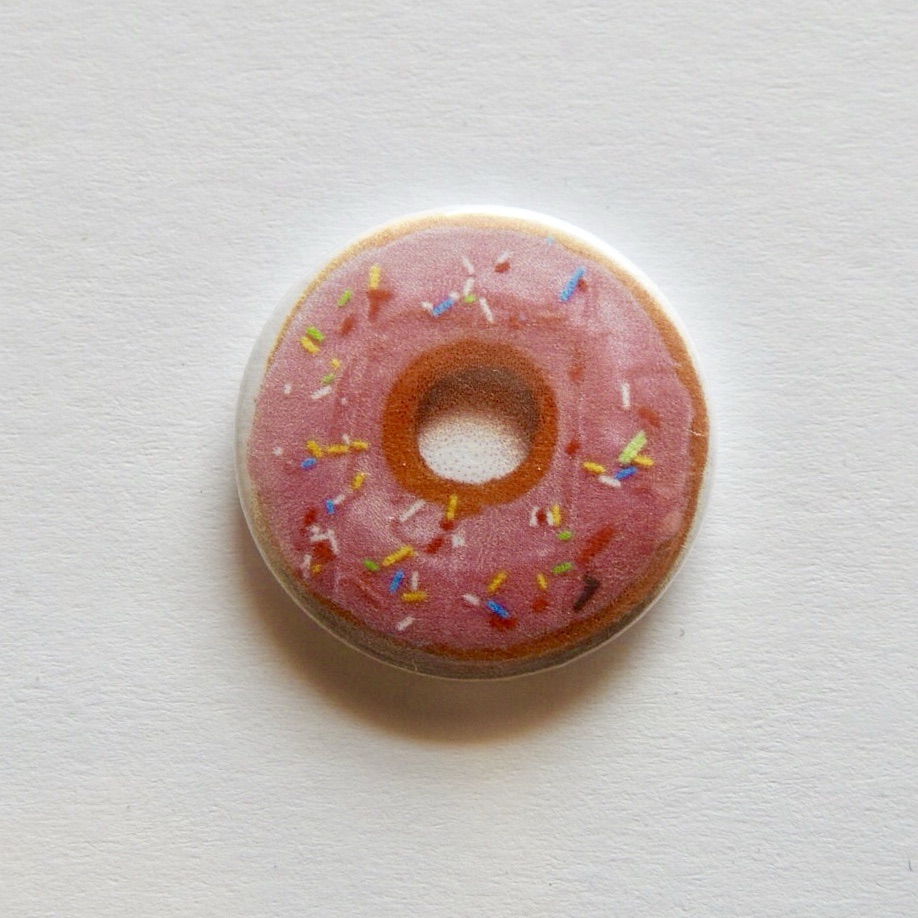
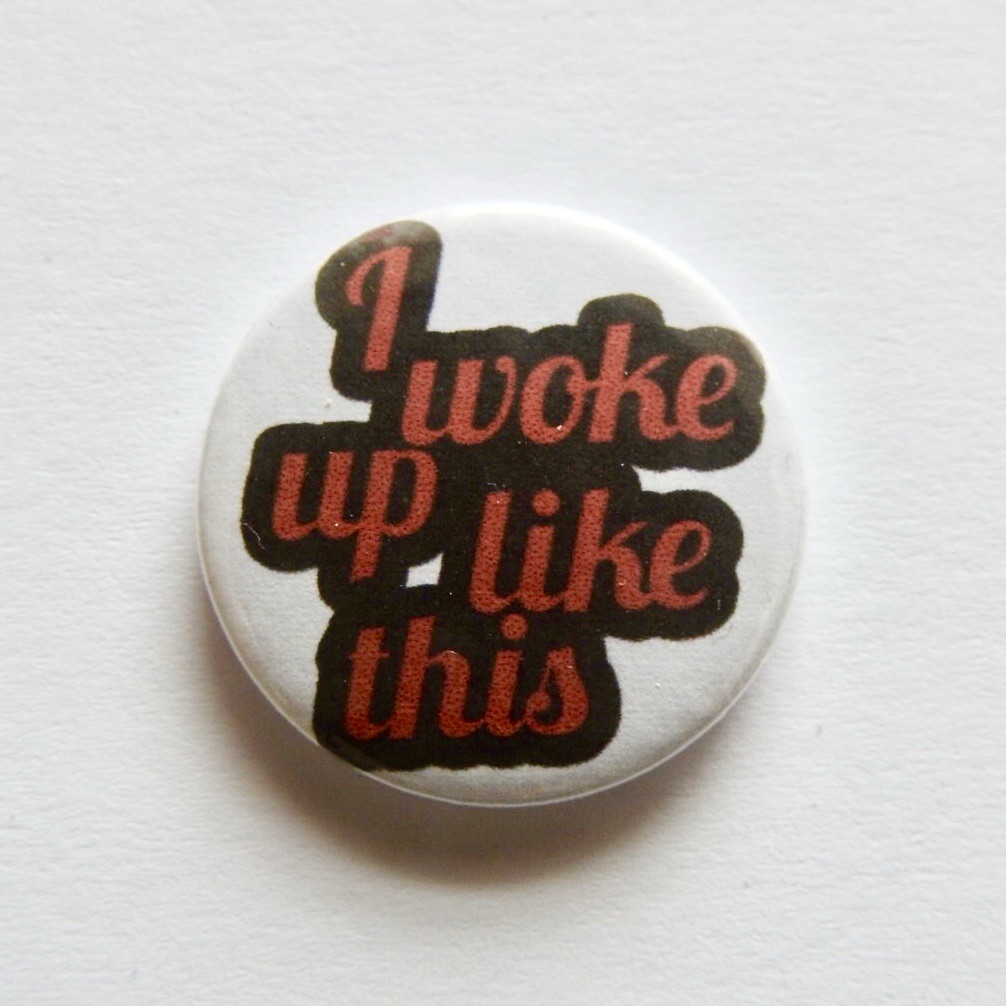
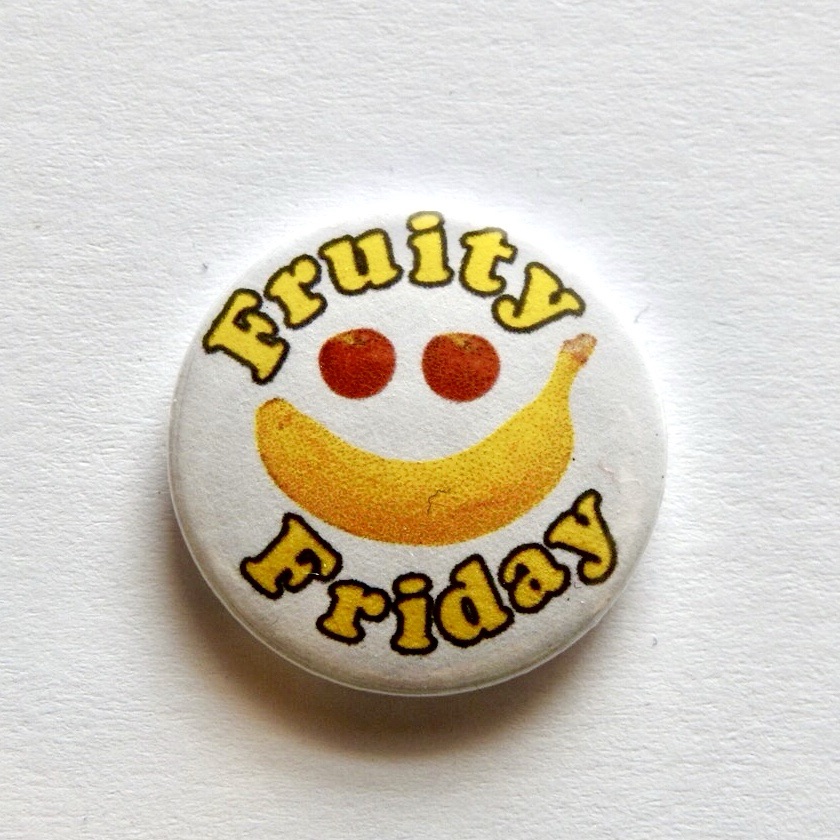
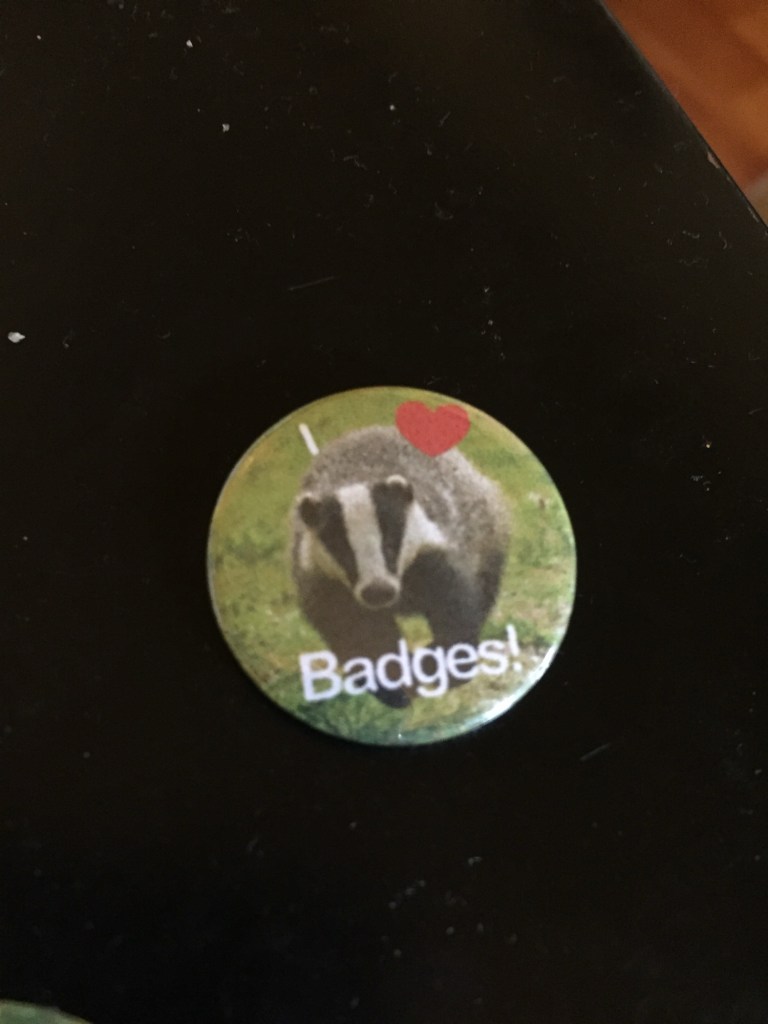
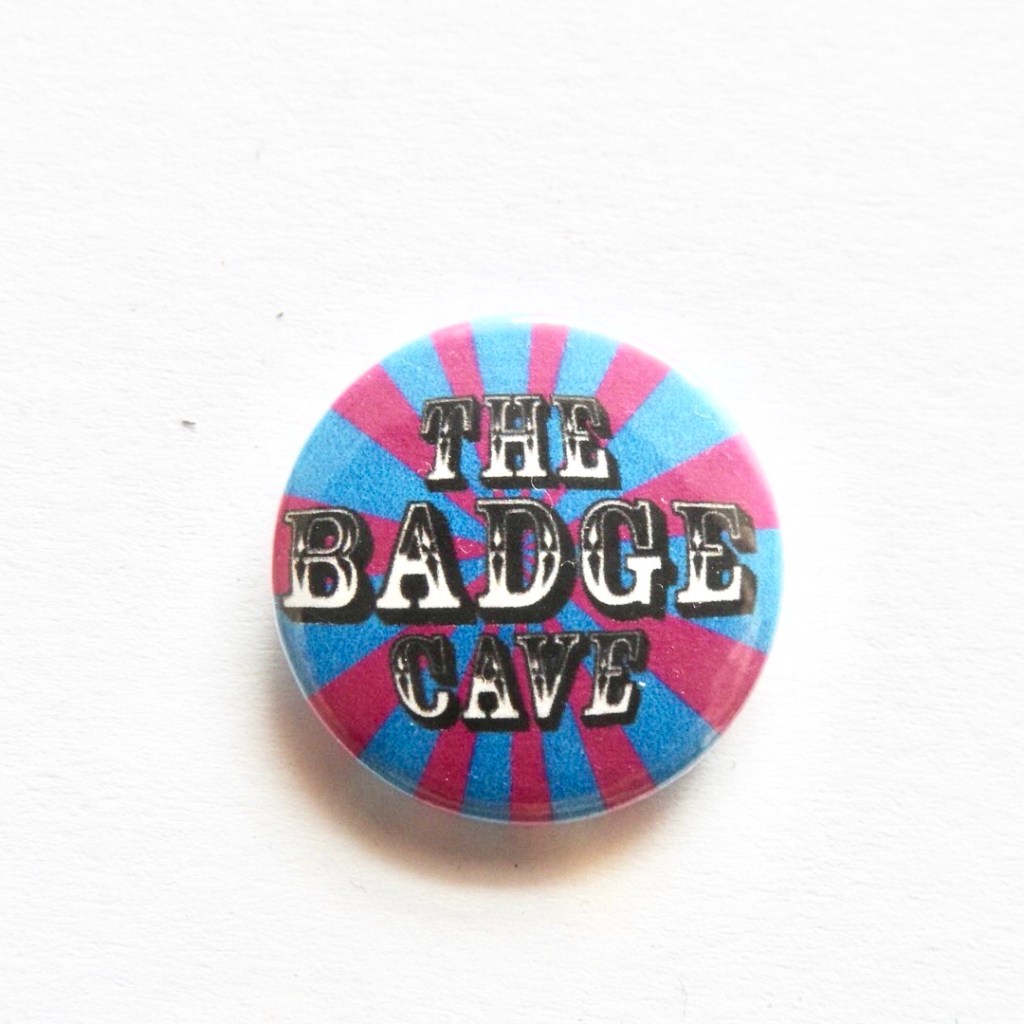
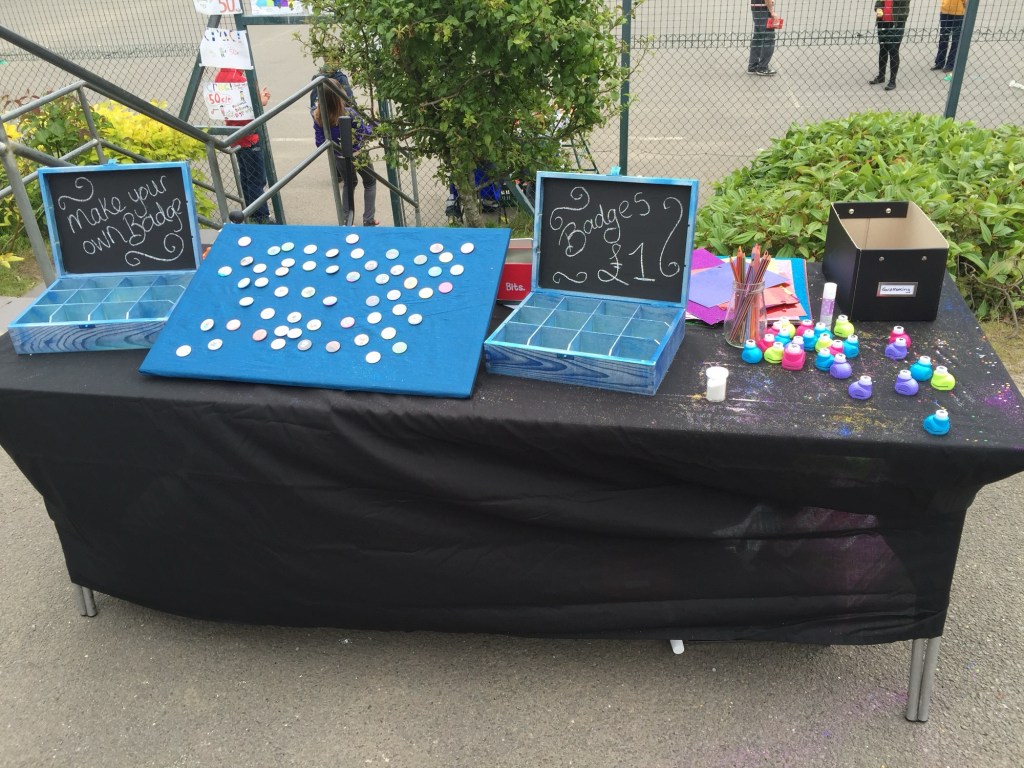
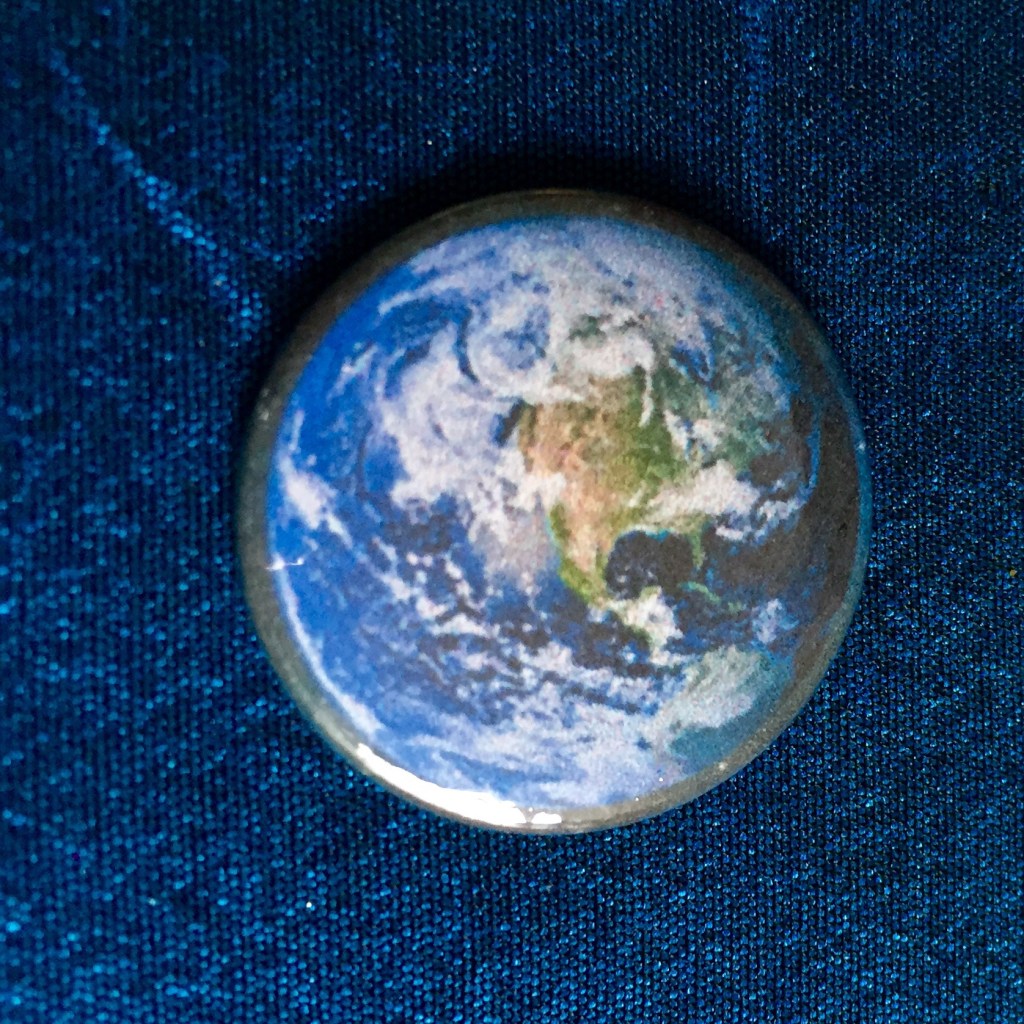
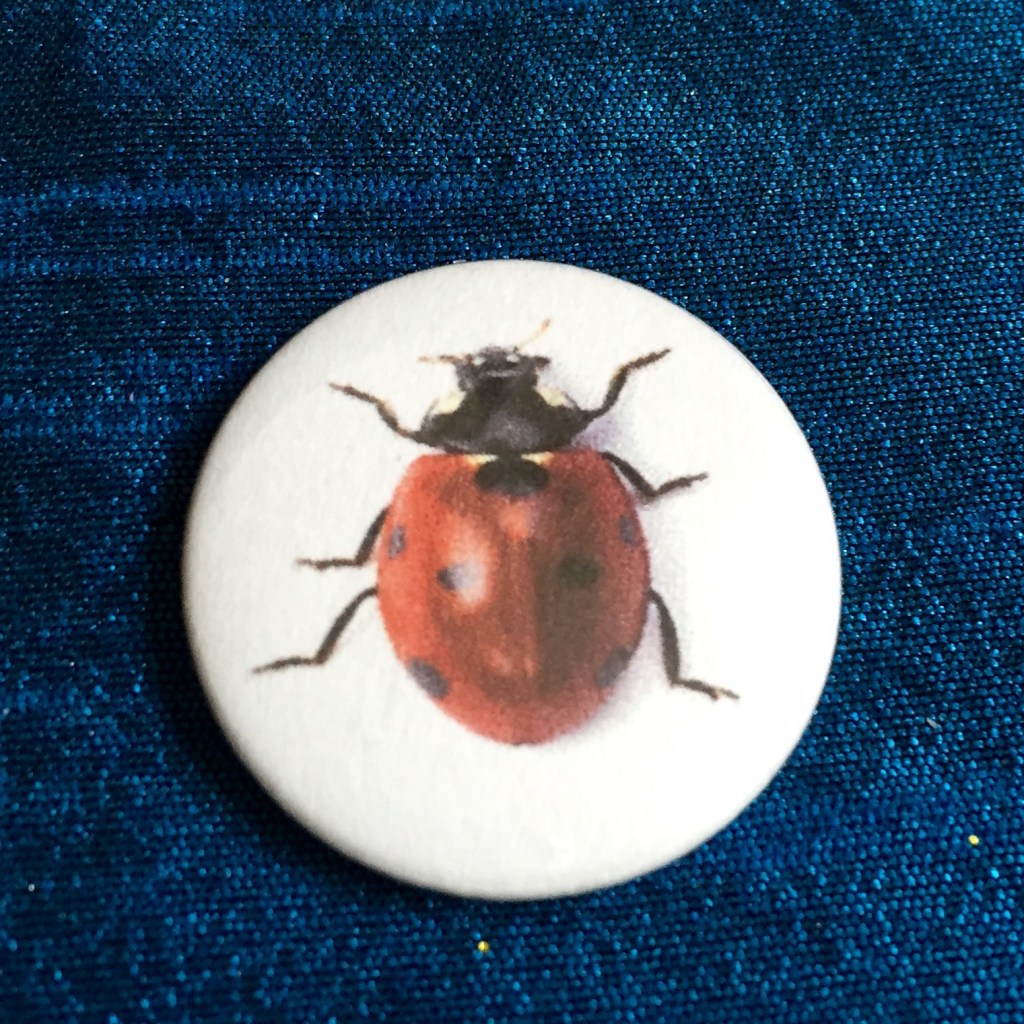
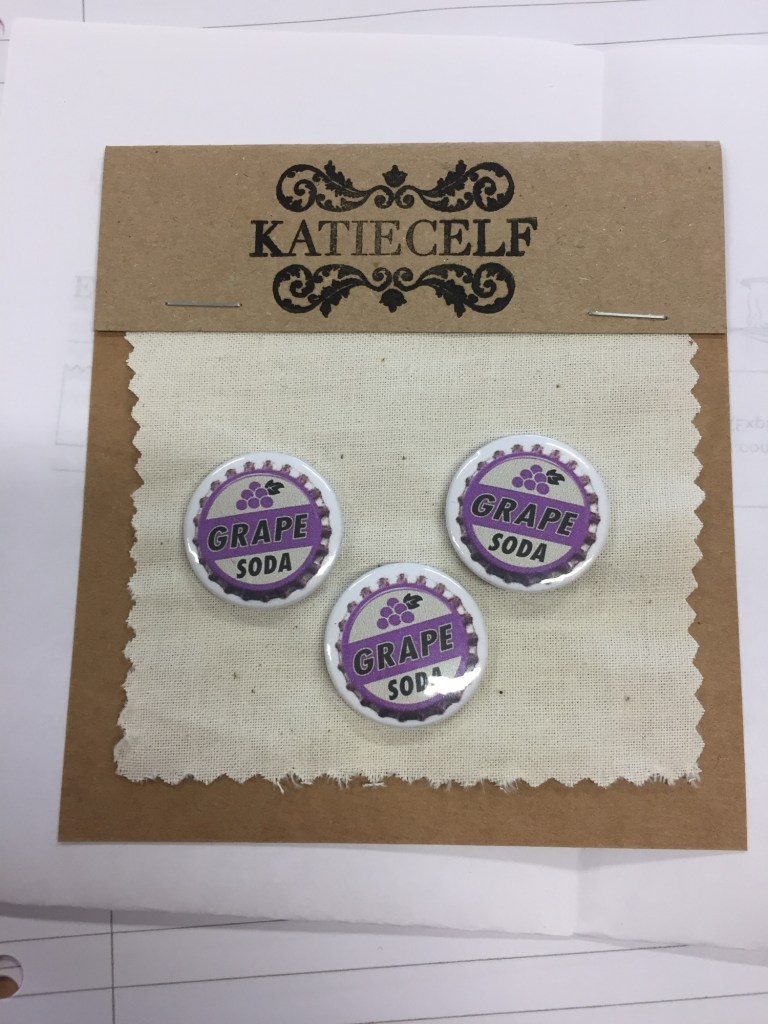
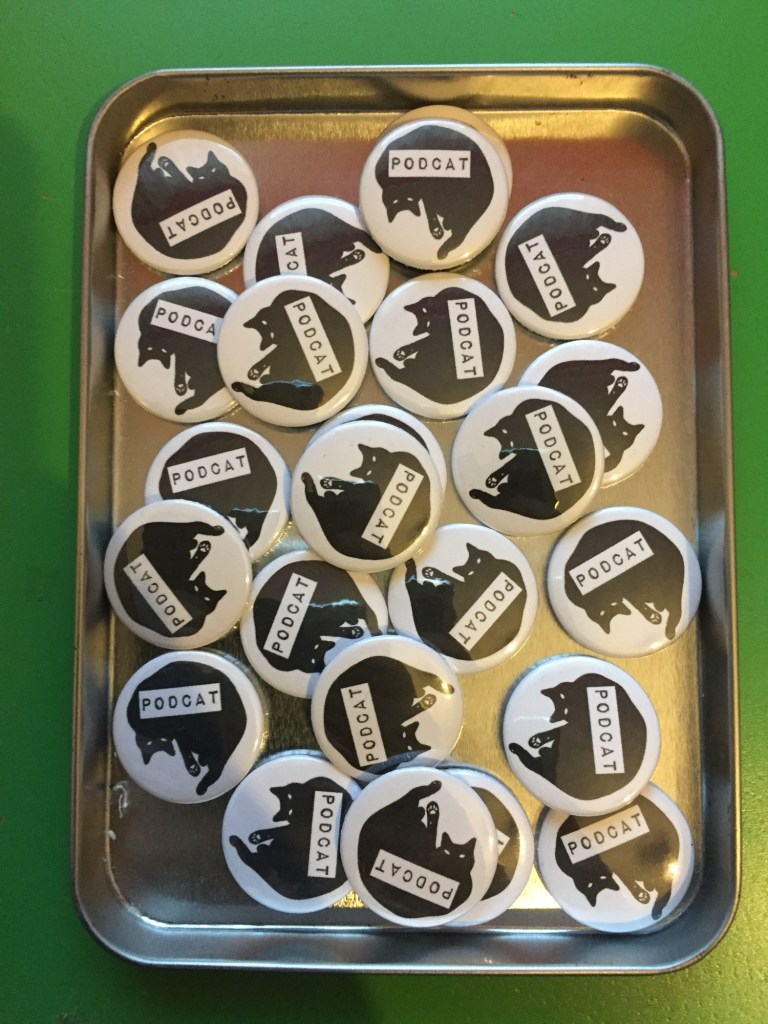
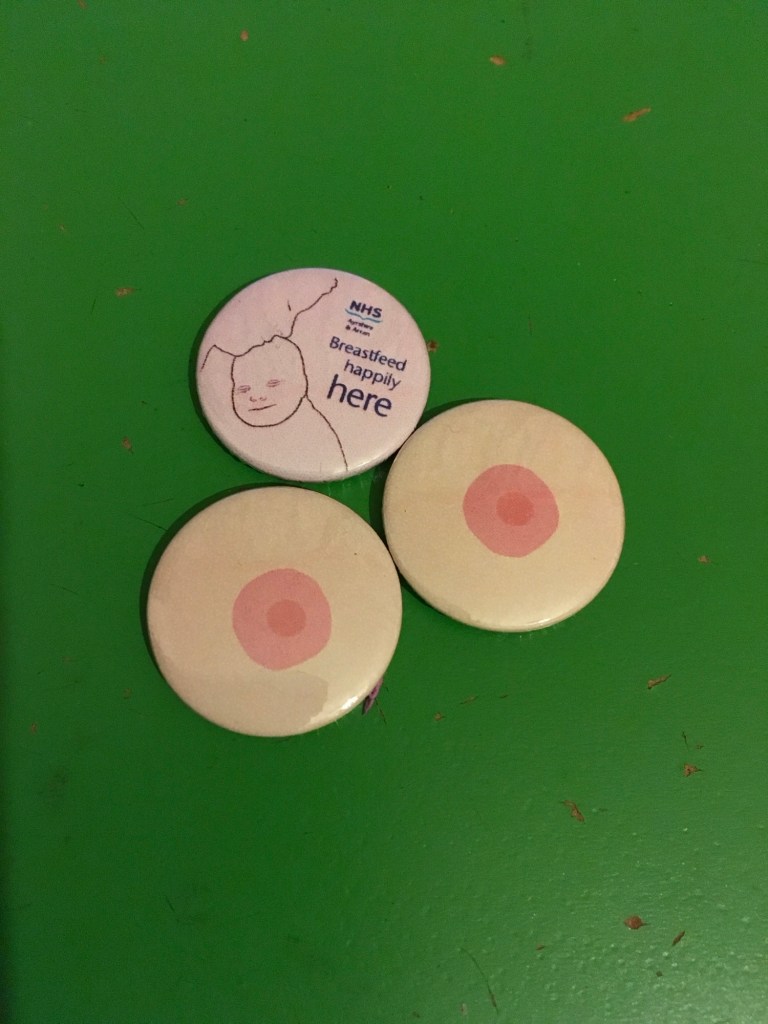
I’ve reopened my Etsy shop The Badge Cave!

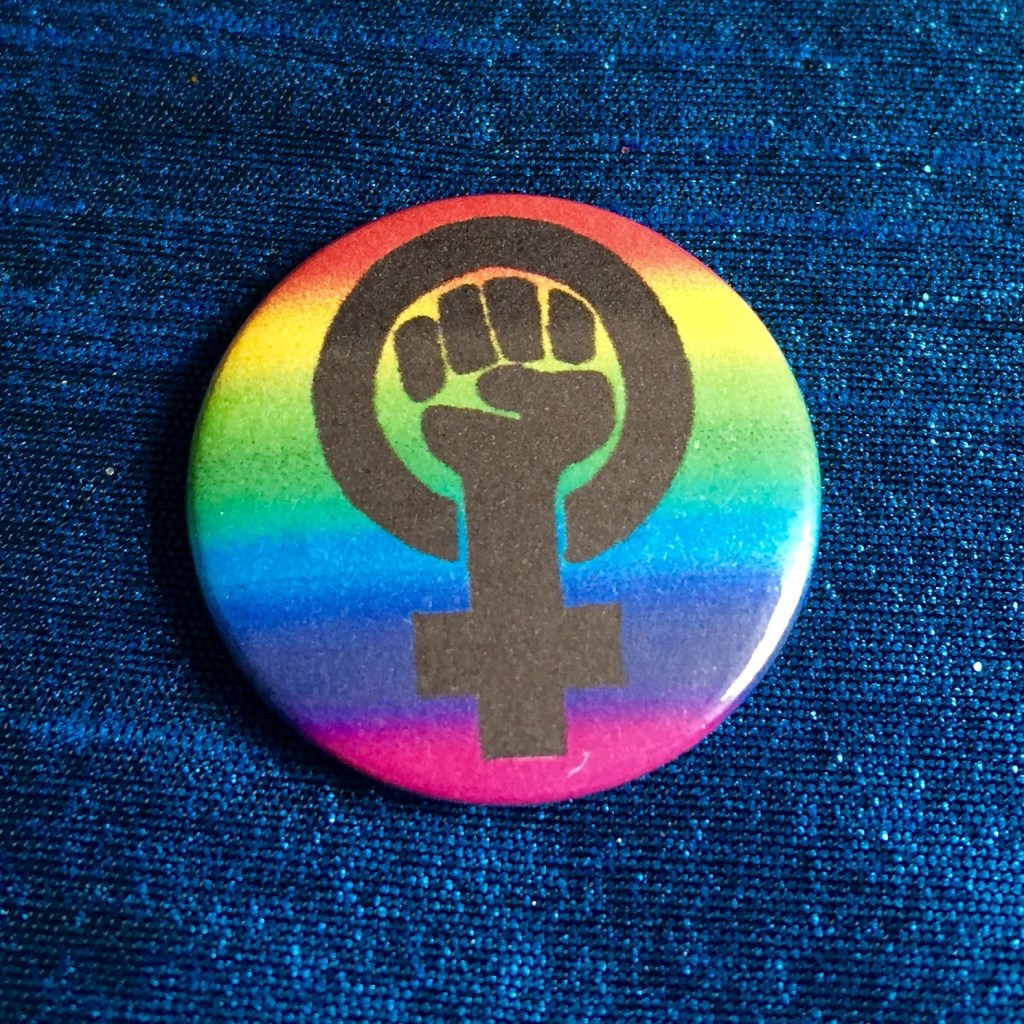
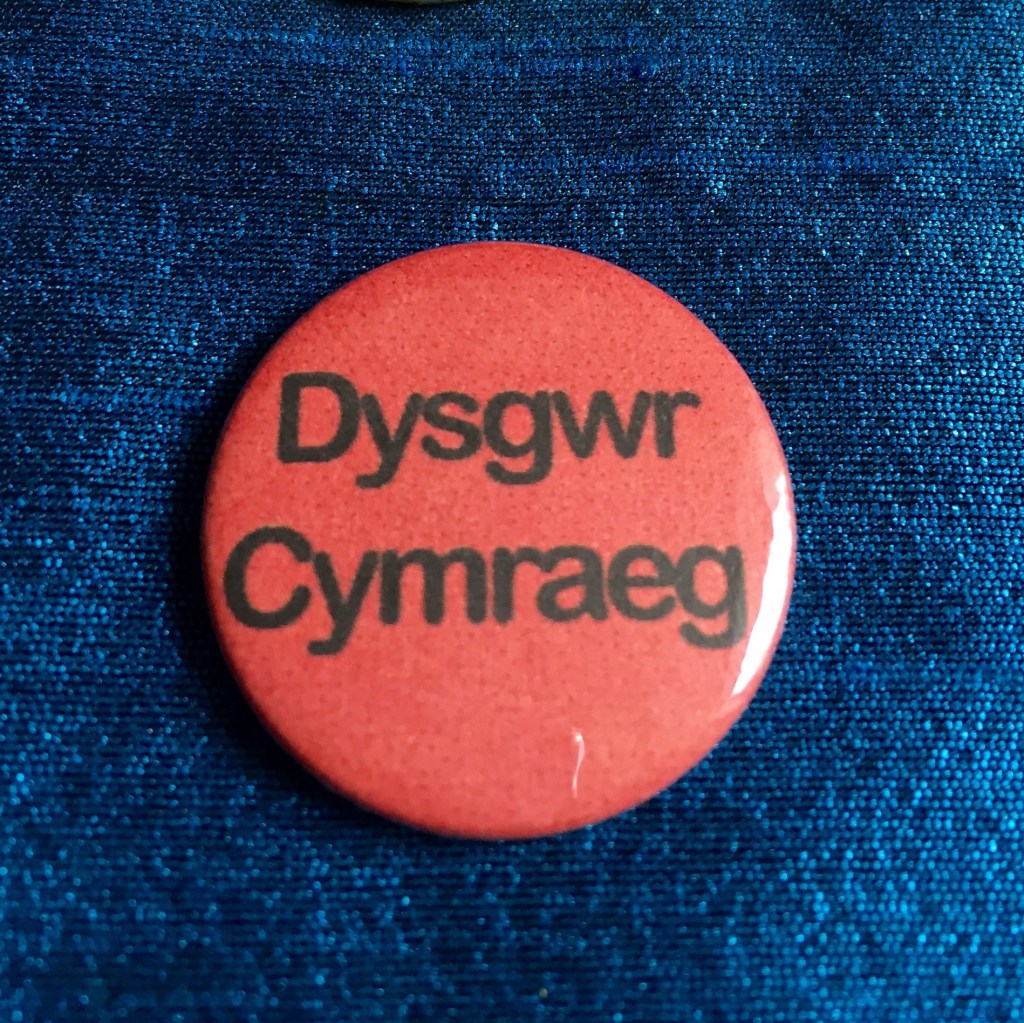
I’ve got lots of 25mm pin badges available as well as customisable badges. I will make your your badge designs for you ❤️

I stopped my shop while I was doing my degree but I’m back and will be uploading new designs soon.

Back to my EPP

Travel EPP setup

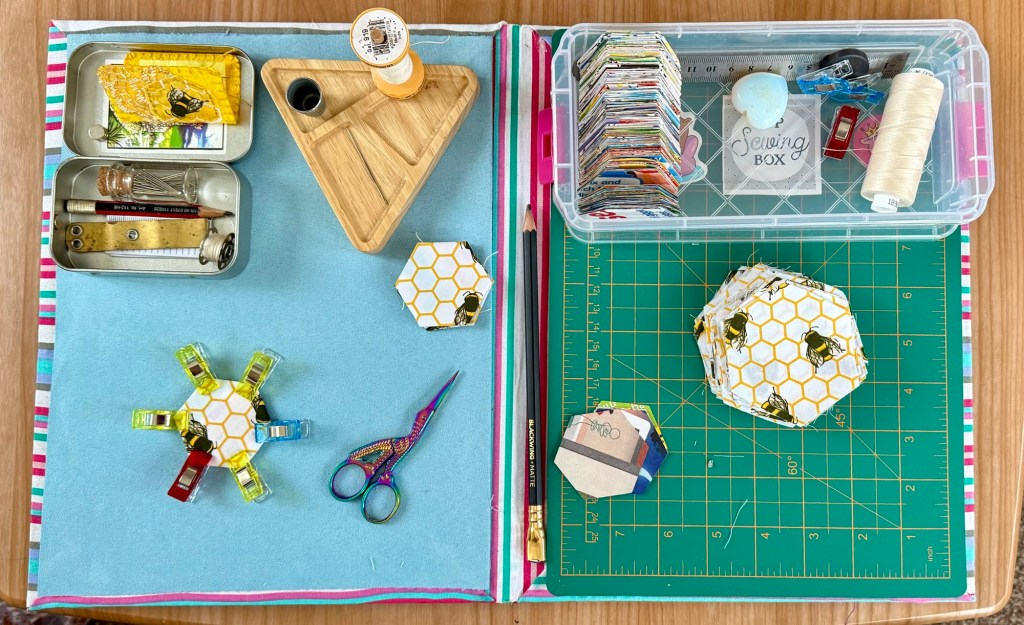
It’s been a while! It’s a great project for when we’re away in the caravan. It’s been 5 years since I started this project in lockdown and it’s still toddling along.

Like I’ve said before, I don’t mind how long it takes, it’s more about the process than the end result.

I’ve still got quite a few chunks of cut hexis ready to prep.

Like this pile.

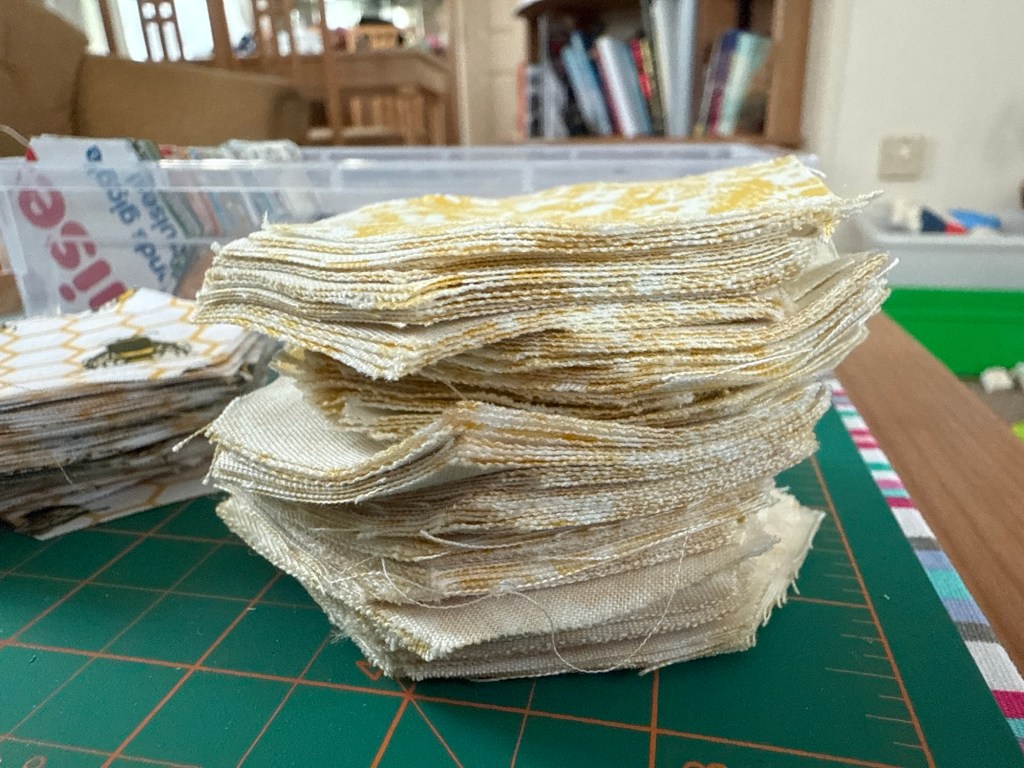
This is what I’ve sewn together so far…

It’s been hanging on my wall for a while now

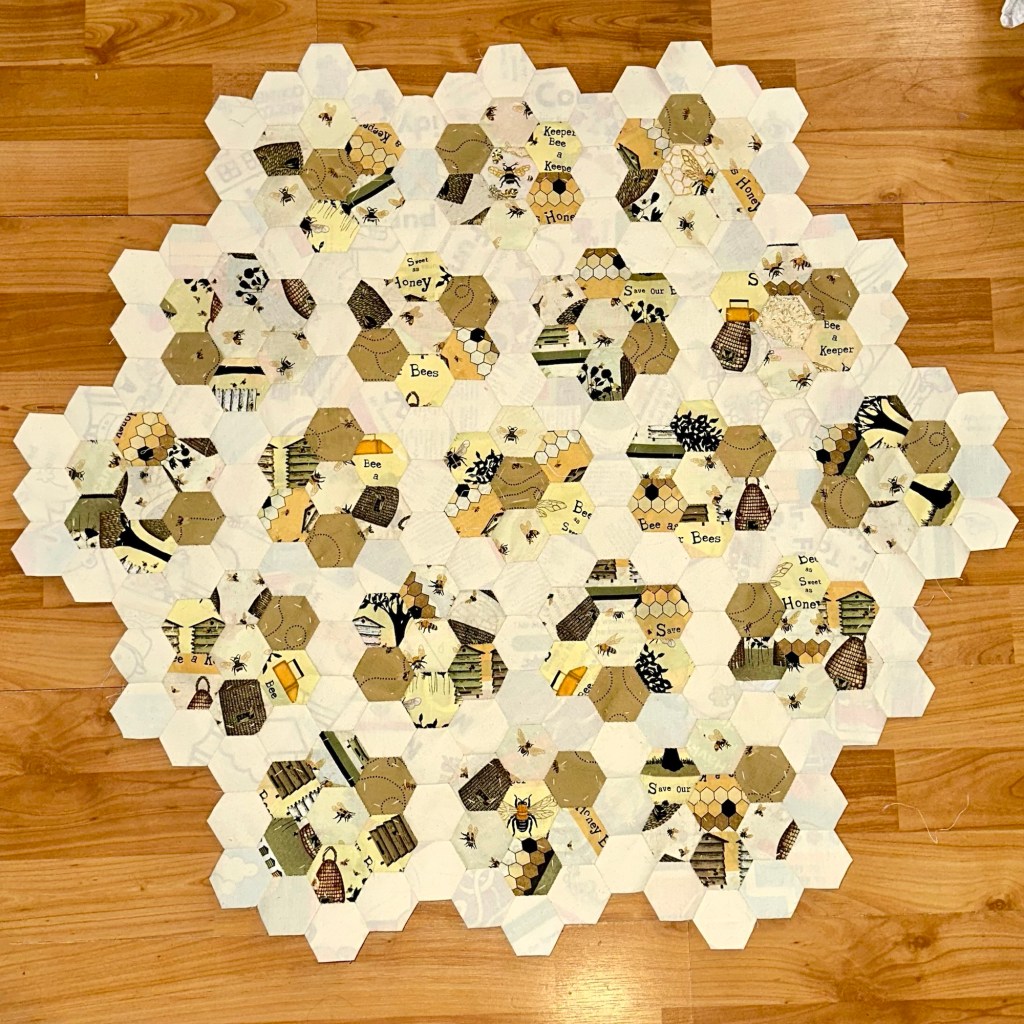
I’m not sure if I want to continue this pattern or to make it more random and less calico plain hexis. Not sure yet… we’ll see!

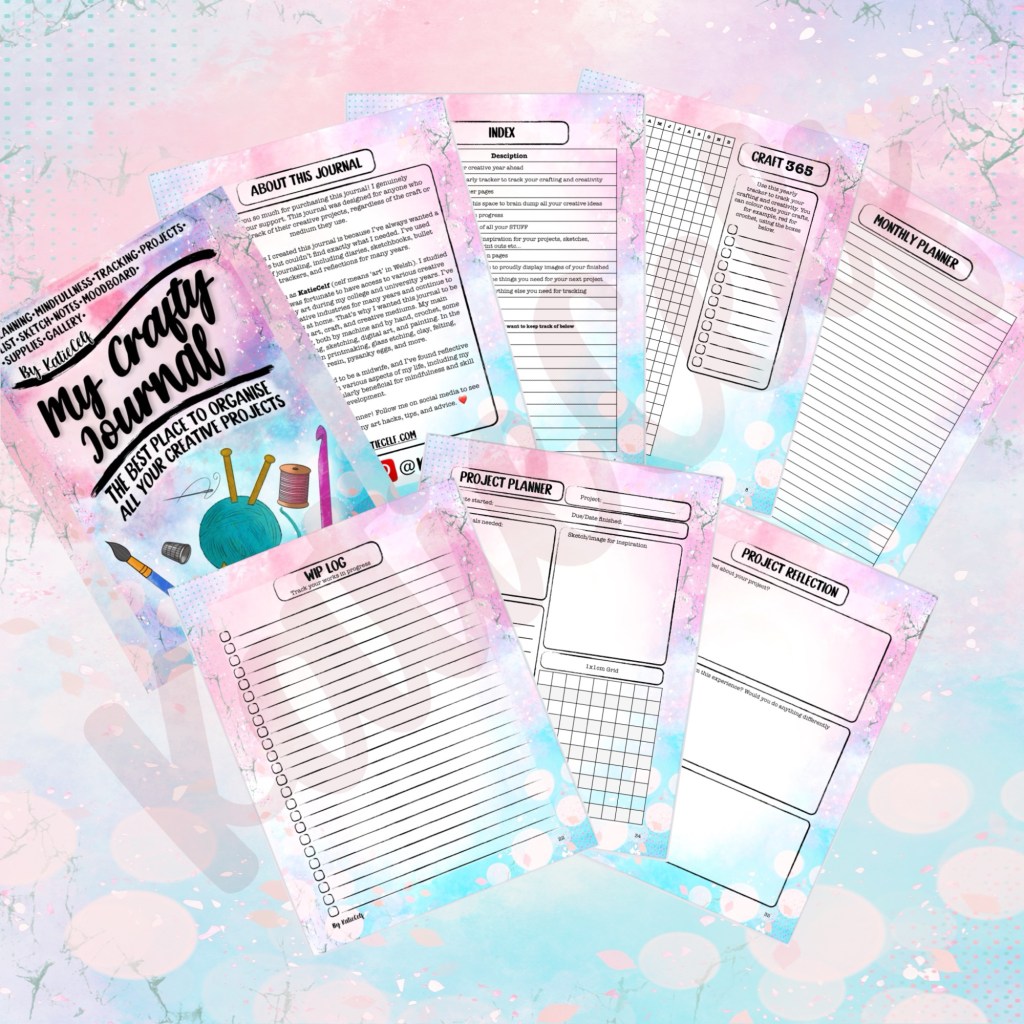
When I get my physical copy of my new crafty journal, I’m looking forward to putting my EPP project into it! It’ll definitely help me come up with some more design and layout ideas for my EPP quilt ❤️🐝

Available on Amazon now!

I’ve launched my Own Crafting Journal that you can buy!!

I’ve designed a crafting journal and launched it today on Amazon KDP!

My Crafty Journal available now on Amazon! 

Click here to buy!

My Crafty Journal: The best place to organise all your creative projects | Plan | Create | Reflect

Overview

A comprehensive journal for tracking and managing creative projects across various mediums

Journal Features

1. Ultimate To-Do List – Space to brain dump creative ideas

2. Craft 365 Tracker – Yearly creativity tracking

3. Project Planner
Sections for: Project details, Materials needed, Inspiration sketch, Notes

4. Project Reflection prompts for: Emotional assessment, Learning experiences, Future improvements

5. Additional Tracking Tools: Moodboard, Stash Tracker, Stash Wish List, WIP (Work in Progress) Log, Makes Gallery, Mind Map, Sketch Pages

6. Planning Sections: Future Log, Monthly Planner, Time-blocking

Key Points

A versatile creative journal designed to support artists and crafters in organising, tracking, and reflecting on their projects across multiple mediums.

My Crafty Journal: The best place to organise all your creative projects | Plan | Create | Reflect

Thank you 🙏

Journaling and Suprise

I’ve been using bullet journaling to organise my brain since around 2016, so nearly 10years now! But I’ve always loved having some sort of physical diary, planner or tracker so I can keep tabs on everything going on.

There’s something about the physical act of hand writing an event or appointment in a journal or diary that cements it into my brain and prevents it getting lost in all the other mental coming and going’s.

I’ve tried to use digital planners a few times and even made my own but I don’t get the same sense of “setting it“ into my brain.

This year I’ve been able to prioritise making again. Partly due to ill health meaning I’ve had to take some time off work, but also because I’ve been using it as a form of therapy and recovery.

Making things is a proven way to improve your mental health.

Click here see this article on mind.com

With all my new crafting, has come many ideas for new makes. So much so that my tiny little brain can’t keep track of them all. I started looking for ideas on tracking creative projects. Everything I saw online didn’t really cover what I wanted though.

So, I decided to make my own. Originally I thought maybe I could make a printable version and put it on Etsy etc but then I learnt about kindle direct publishing…

My Crafty Journal – Available now on Amazon!!!
Some page examples 🩷

My Crafty Journal available now on Amazon!

Click here to buy!

My Crafty Journal: The best place to organise all your creative projects | Plan | Create | Reflect

Pysanka Eggs

Recently I learnt how to make pysanky eggs with my amazing pal ❤️ Its a batik or wax resist method of decorating eggs.

It’s a traditional Ukrainian craft that my friend learnt when she spent time there as a student studying.

According to the website pysanky.info

Ukrainians have been decorating eggs, creating these miniature jewels, for countless generations. There is a ritualistic element involved, magical thinking, a calling out to the gods and goddesses for health, fertility, love, and wealth.  There is a yearning for eternity, for the sun and stars, for whatever gods that may be.  

If you’d like more info about pysanka I definitely recommend you look at Pysanky.info where there is so much info about the history and the craft today! It’s so interesting.

My attempt!

This is part of my first ever attempt at it! I really enjoyed it, it becomes meditative as you do it.

And the other side…I tried to do a bit of a traditional design but also I was still getting the hang of using the stylus and had a bit of wax that came loose and dye seeped underneath.

Using blown out eggs, the decoration process involves using the stylus tool, kistka, pictured in the foreground, scraping some beeswax into the top of the cone and gently heating it over the candle until the beeswax melts enough to produce an even thin stream of wax. Once you’ve completed part of your design you then dip the egg into dyes.

From what I understand, the dyes are vinegar based so partly etch into the egg, the wax resists the dye and once dried you repeat the process with different colours working from light to dark. Each layer will add to your design in various colours of dye!

Once you’ve completed your design, carefully hold the egg near the candle until the wax starts to melt (but being careful not to get the egg too hot and cause it to crack) and wipe off to remove the excess wax, what remains adds a sheen and protection to the egg.

My design is by no means a work of traditional pysanka, it’s me just having a go and spending time with my lovely friend having chats and basically giving each other therapy through crafts and chats!

100% recommend giving it a go, it’s an incredible craft and actual pysanka artists make incredible intricate designs ❤️ Definitely recommend having a look!

**”Pysanka” is the singular form; “pysanky” is plural – I’ve probably got it wrong throughout…