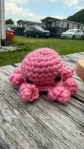
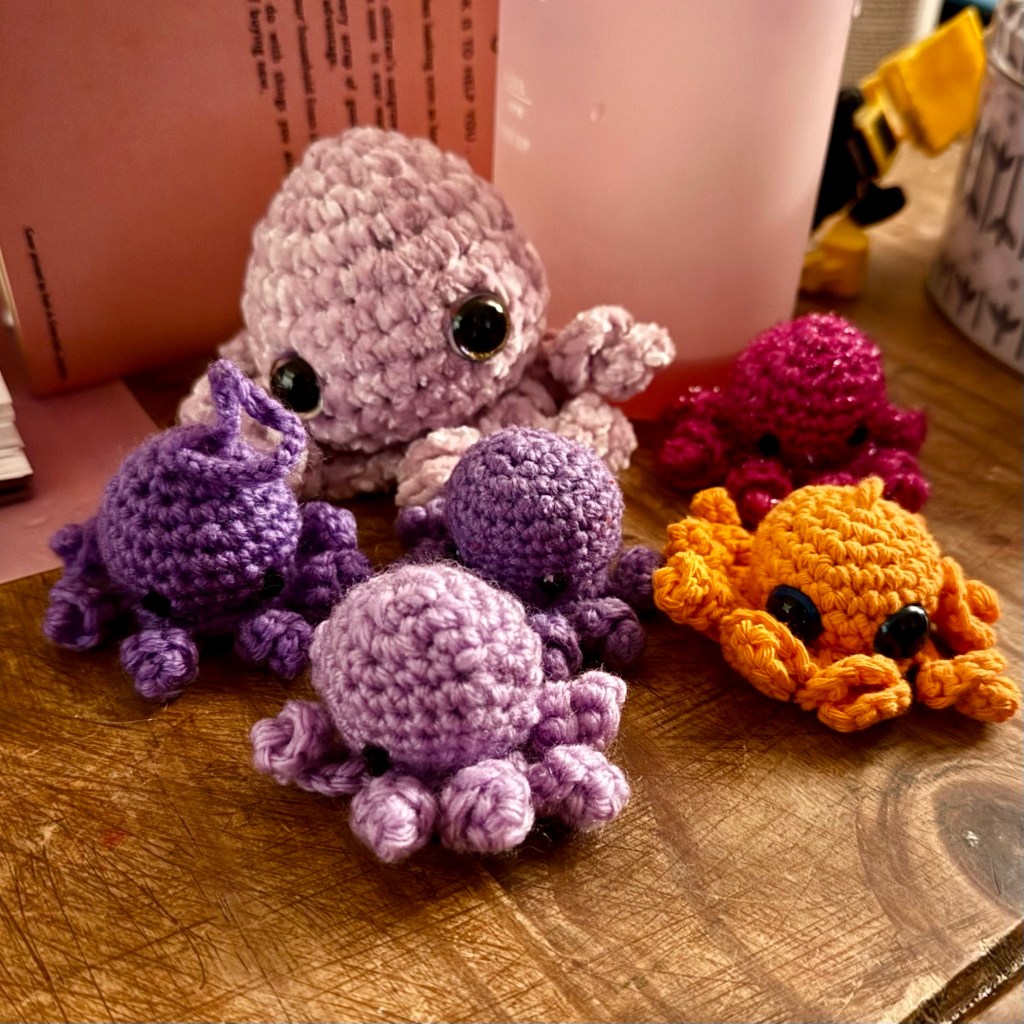
Yep, it’s another octopus! This time a rainbow 🌈 one ❤️🧡💛💚🩵💙💜🩷🤍
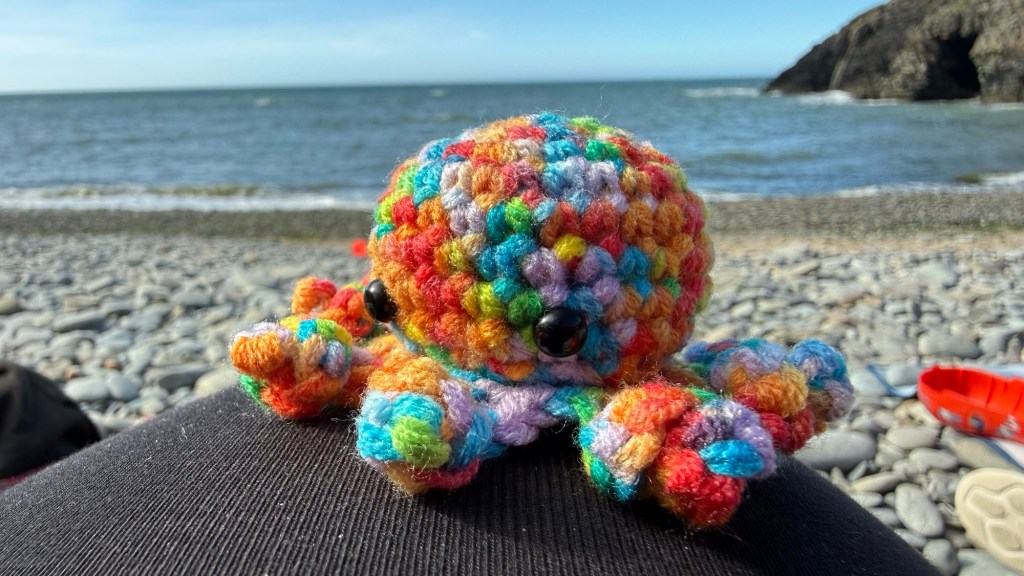
My 10yo and 3yo immediately started arguing over it so I’ll just have to made another one!
Made with this DK acrylic rainbow yarn and these 6mm safety eyes.

My personal blog, crafts, sewing, crochet, knitting, drawing, digital art, costume…
Yep, it’s another octopus! This time a rainbow 🌈 one ❤️🧡💛💚🩵💙💜🩷🤍
My 10yo and 3yo immediately started arguing over it so I’ll just have to made another one!
Made with this DK acrylic rainbow yarn and these 6mm safety eyes.
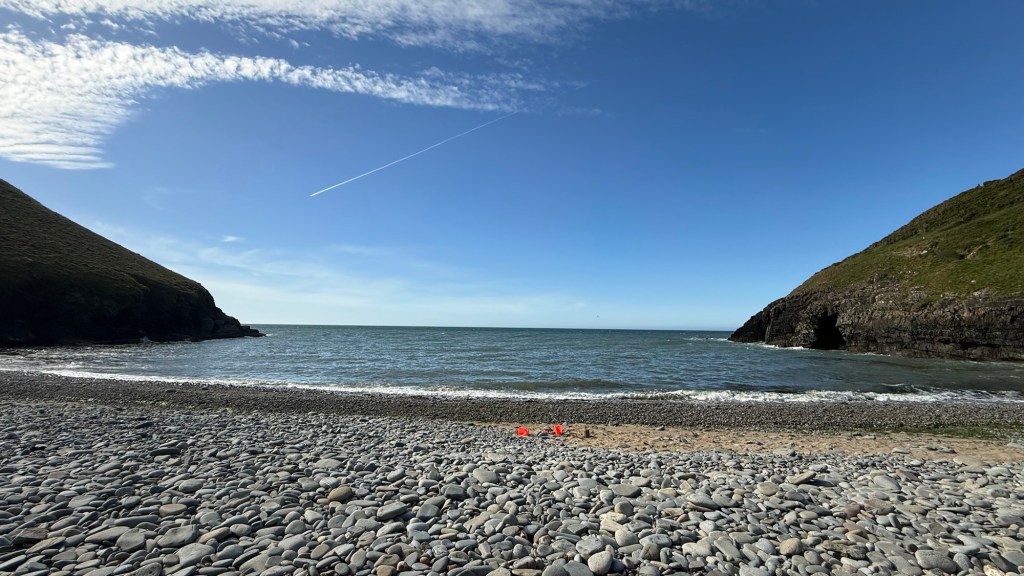
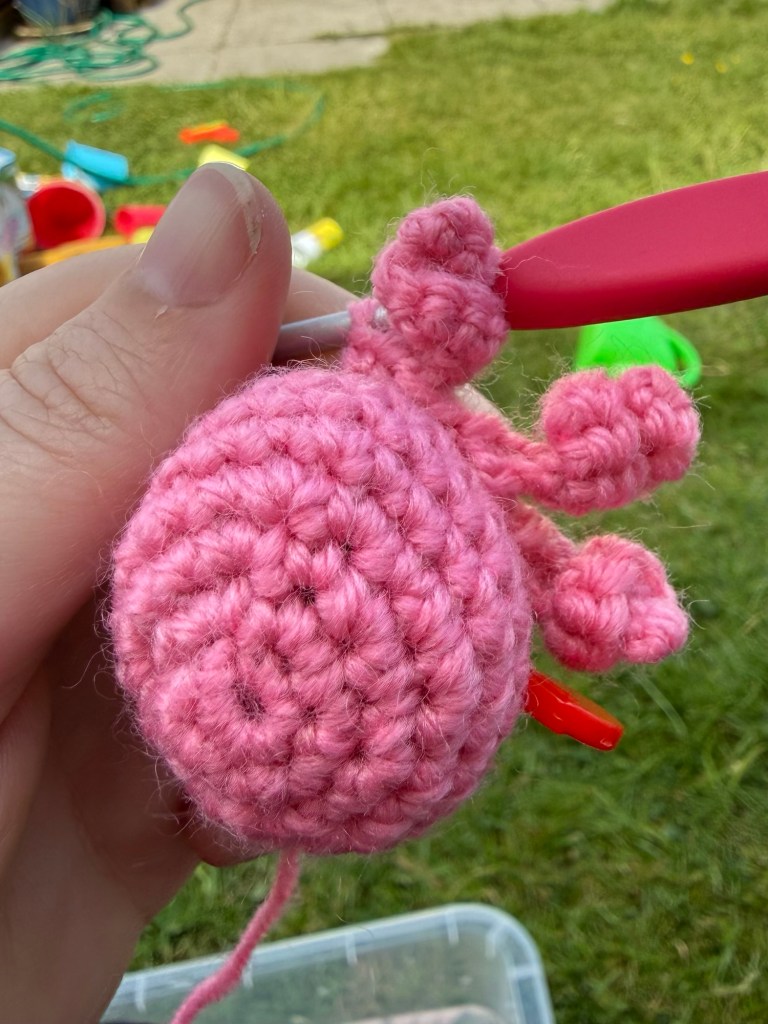
We’re on holidays in Aberaeron at the moment, luckily having some lovely sunshine!

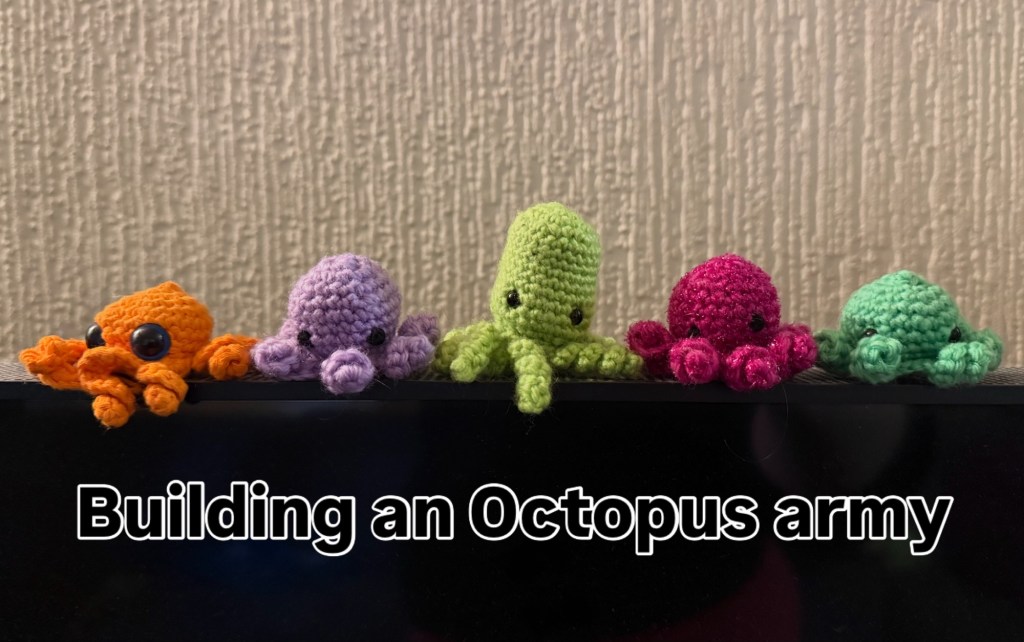
So obviously I’ve got to make a few octopuses!
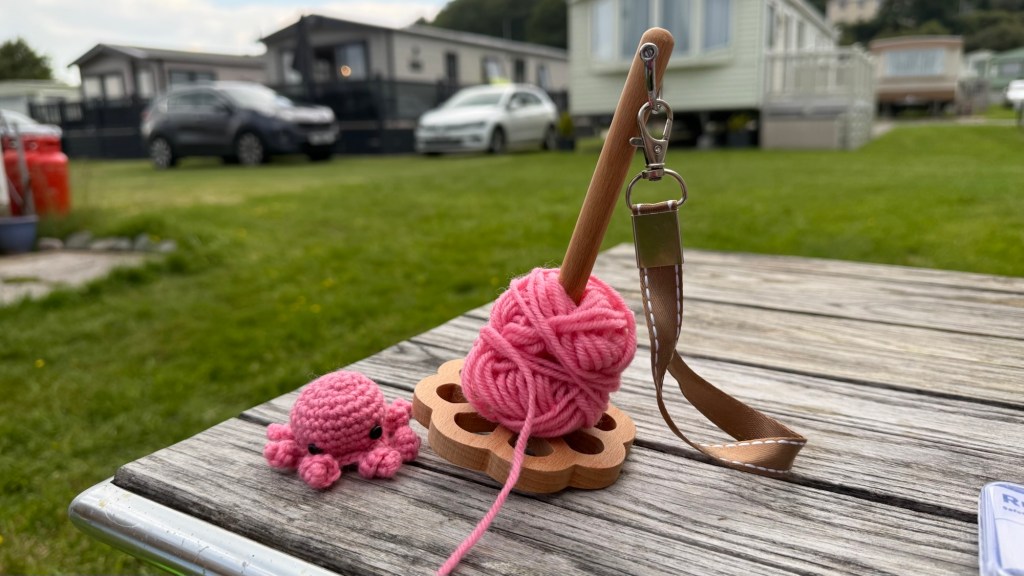
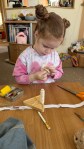
Ive been having a go of this yarn holder today which has been awesome.
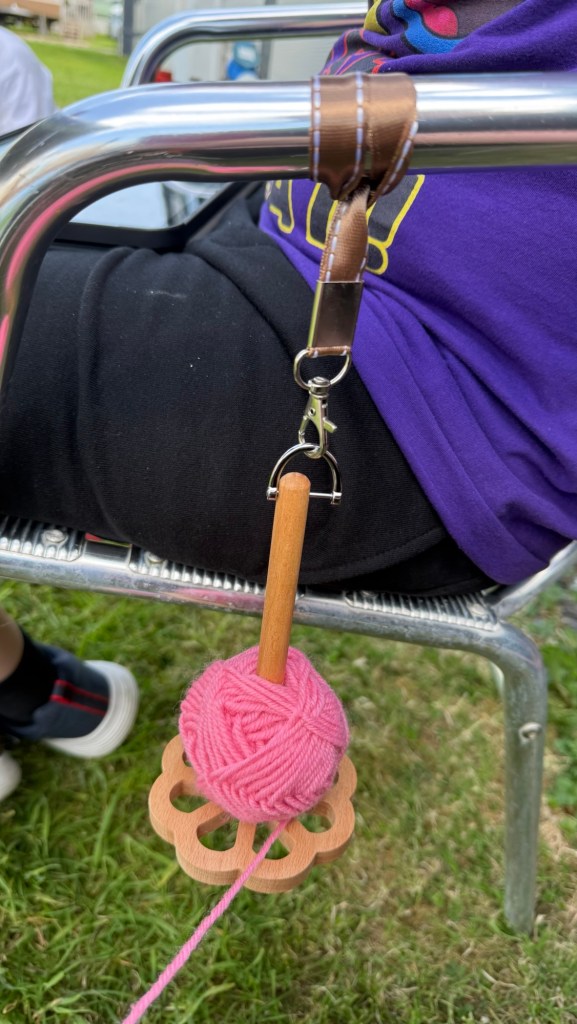
You pop the yarn onto the holder, and either have it around your wrist or, what I did was attach it to the chair next to me (my son didn’t mind too much!)
It was great! It worked really well and saved me doing what I usually do and have my yarn on the floor, rolling around in the grass picking up whatever is about! So my yarn stayed lovely and tidy and grass free.
Definitely recommend if you want one follow this link here to buy ❤️ You get a wristlet and a long crossbody lanyard holder too!
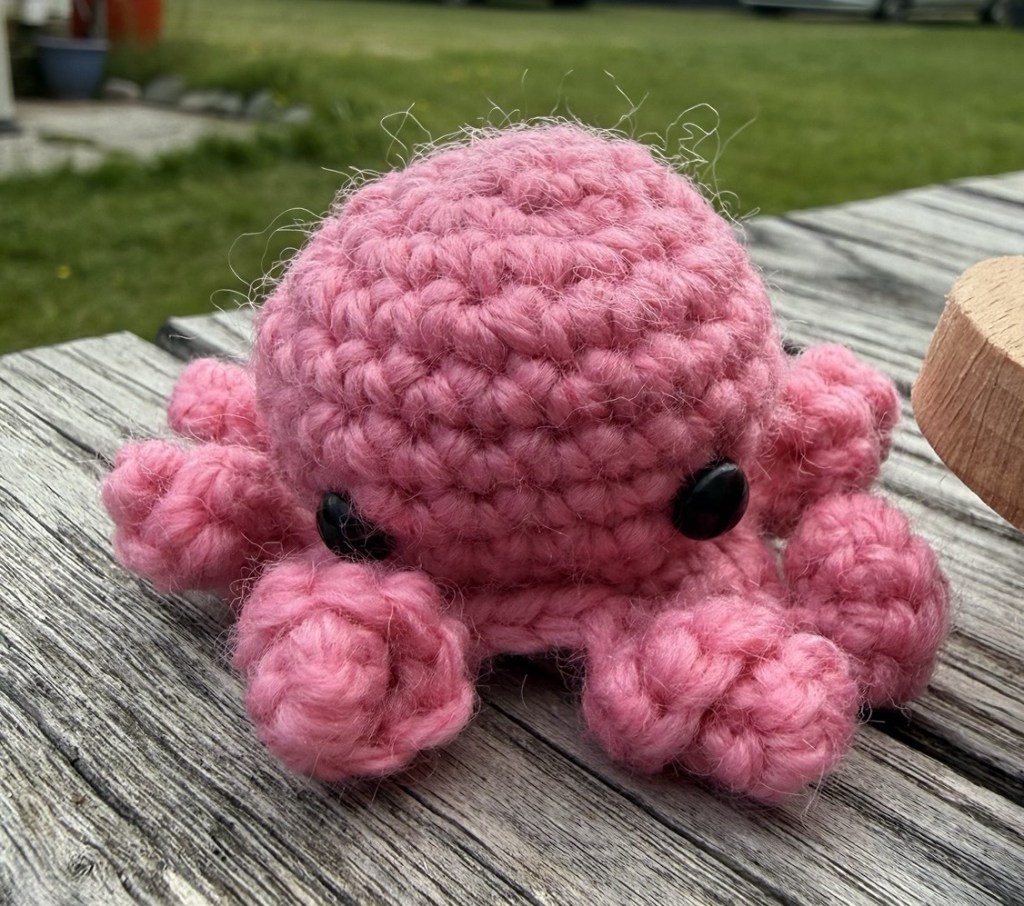
I also used these 6mm safety eyes on all my octopuses 🐙
Hope you like my lovely octopuses, I have included Amazon associate links if you’re interested in any of the products I’ve used.
Thank you Diolch for reading ❤️
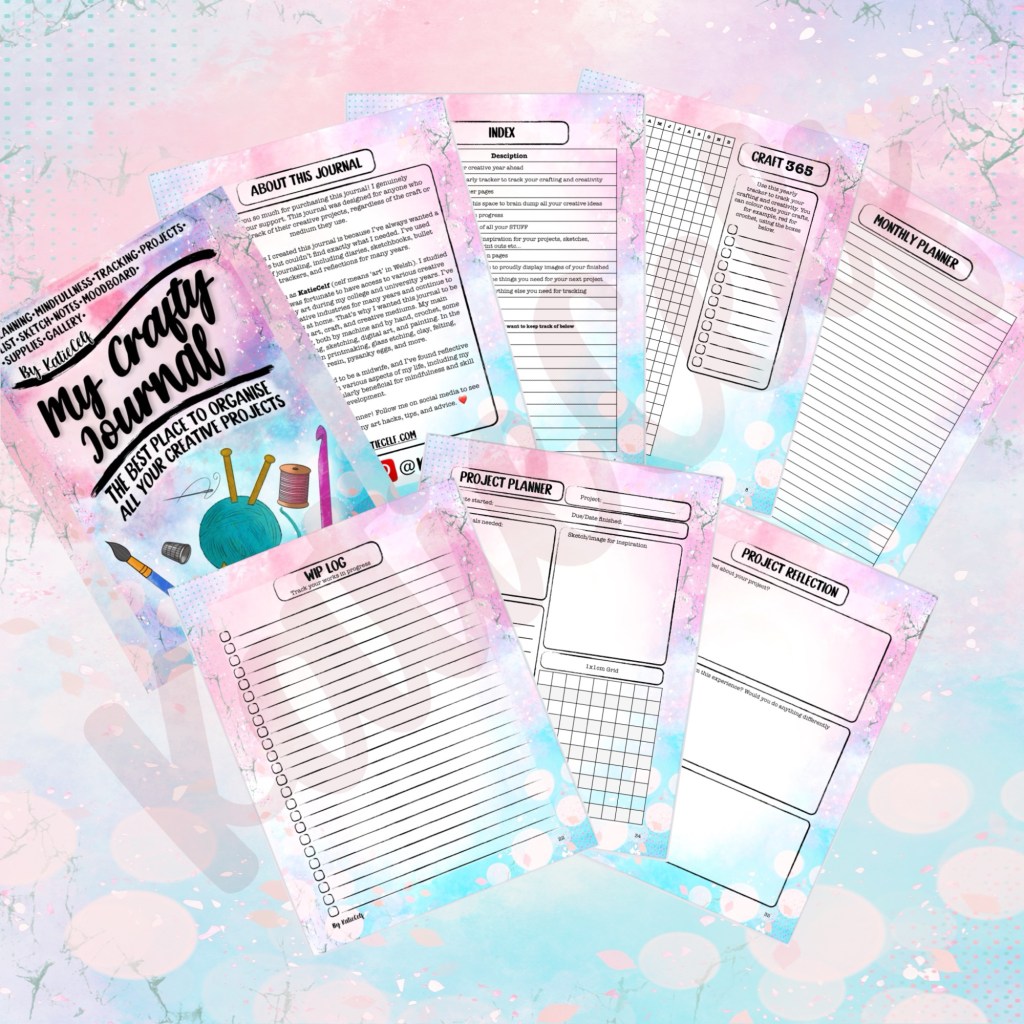
I designed my Crafty Planner nearly a year ago, but I’ve just made it available as a digital download on my Etsy shop available here.

A versatile creative journal designed to support artists and crafters in organising, tracking, and reflecting on their projects across varied mediums.
Journal includes:
Index
Ultimate to do list
365 Craft Checker
Dox matrix page
Moodboard page
Stash tracker
Project planner
Project reflection
Mind map
Sketch page
Project to do list
WIP (work in progress) Log
Stash wish list
Makes Gallery
Lined notes page
And for Planning, undated:
Yearly Future log
Monthly planner
Weekly planner
Daily planner, with priority matrix
PDF file compatible with iPad iOS notes, notability, Goodnotes. Duplicate the pages you need and move them around to suit you.
Works well with Apple Pencil handwritten notes and typed text.
Suites all types of crafts, drawing, painting, crochet, needling felting, knitting, sewing….
It is also printable!
If you are untested in a fully printed paperback or hardback, they are available on Amazon.
My daughter wanted to help with sewing yesterday. We’re away at the moment so I was trying to shorten my son’s new jeans by hand as no sewing machine and of course my 3yo wanted to help!
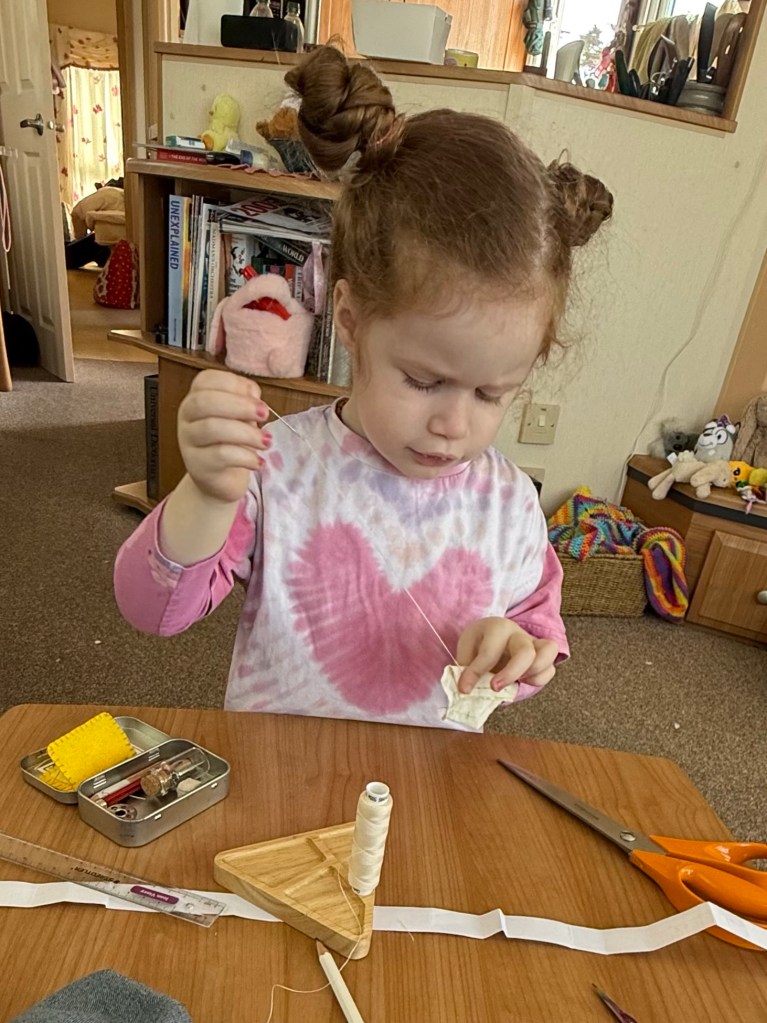
I put two of my hexagons from my EPP project together so she could sew around them. I thought we could turn it through, and have a cute lil’ hexi.
I drew a line for her to follow but she didn’t really get where to put the next stitch. So I ended up drawing little dots all the way around so she could see where to stitch next.
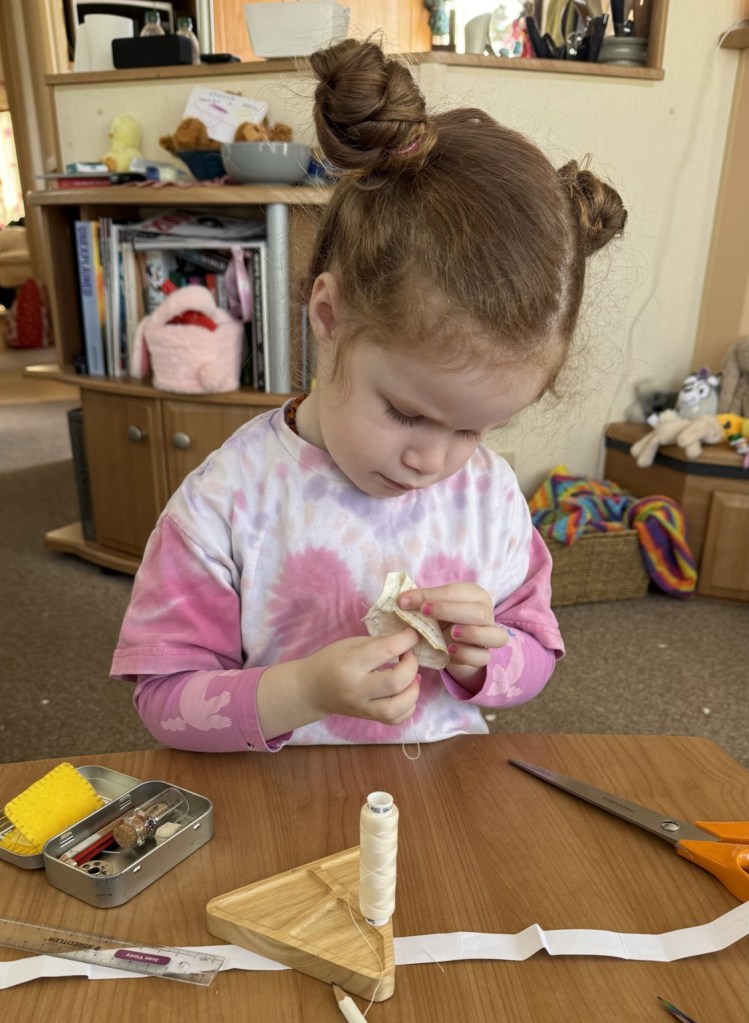
She said I don’t like sewing about 2cm from the end and I finished it off. I thought it would keep her occupied while I shortened my son’s jeans but it ended up with me just helping her and abandoning the jeans for a bit 😂
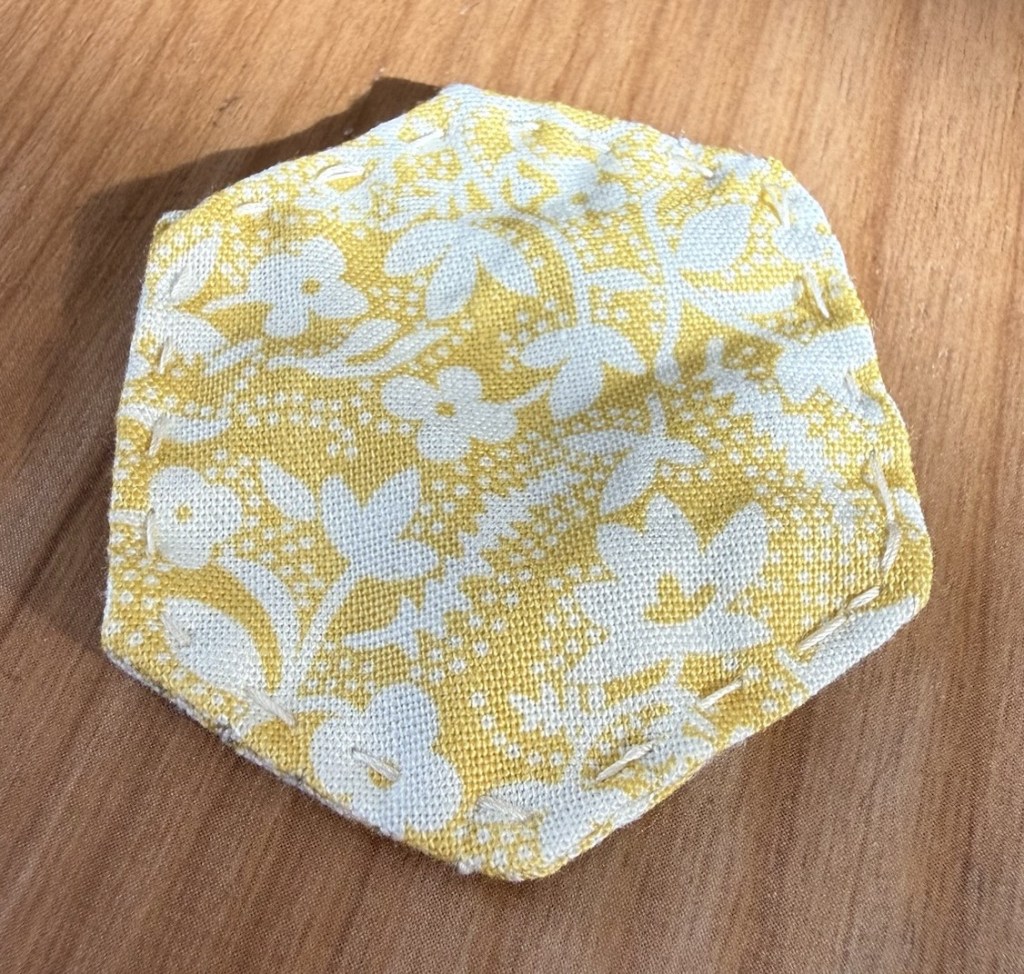
What shall we make next and what should I do with “the world’s smallest quilt?” 😂 comments below haha!
Also check out some of my other EPP posts here.
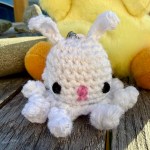

From Octo-bunny!
I’ve been crocheting a lot of little octopi for my obsessed son so I thought I’d do an Easter adjacent version.
Pasg Hapus | Happy Easter 🐣
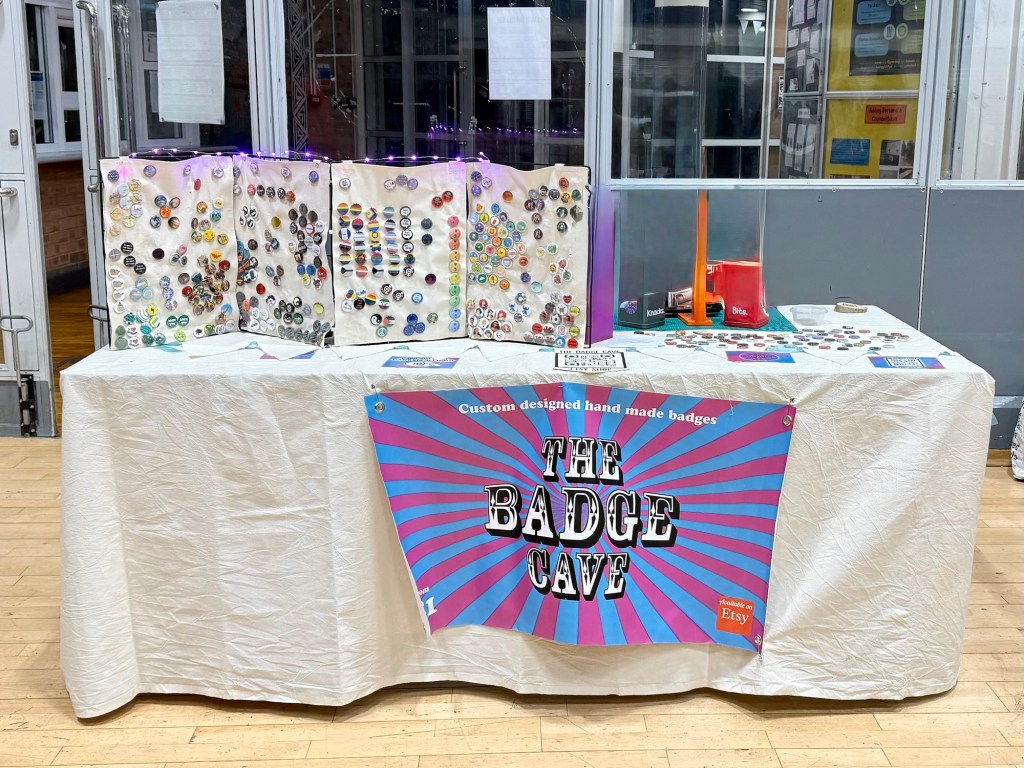
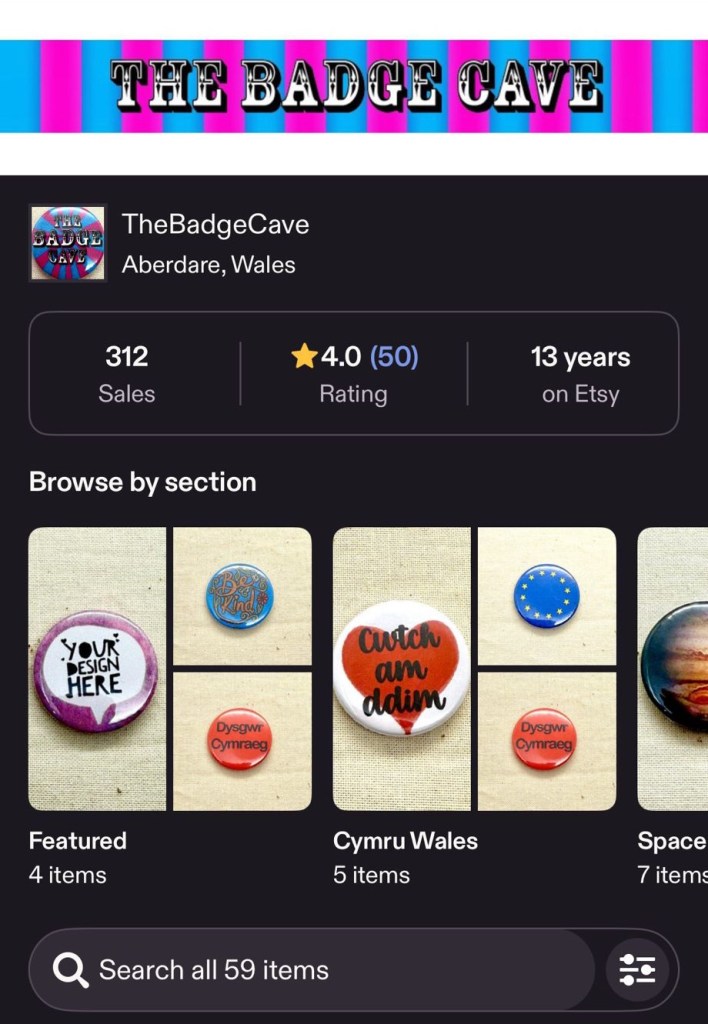
I’ll be here this Sunday 22nd 10.30am-2pm with my badges and now also keyings!
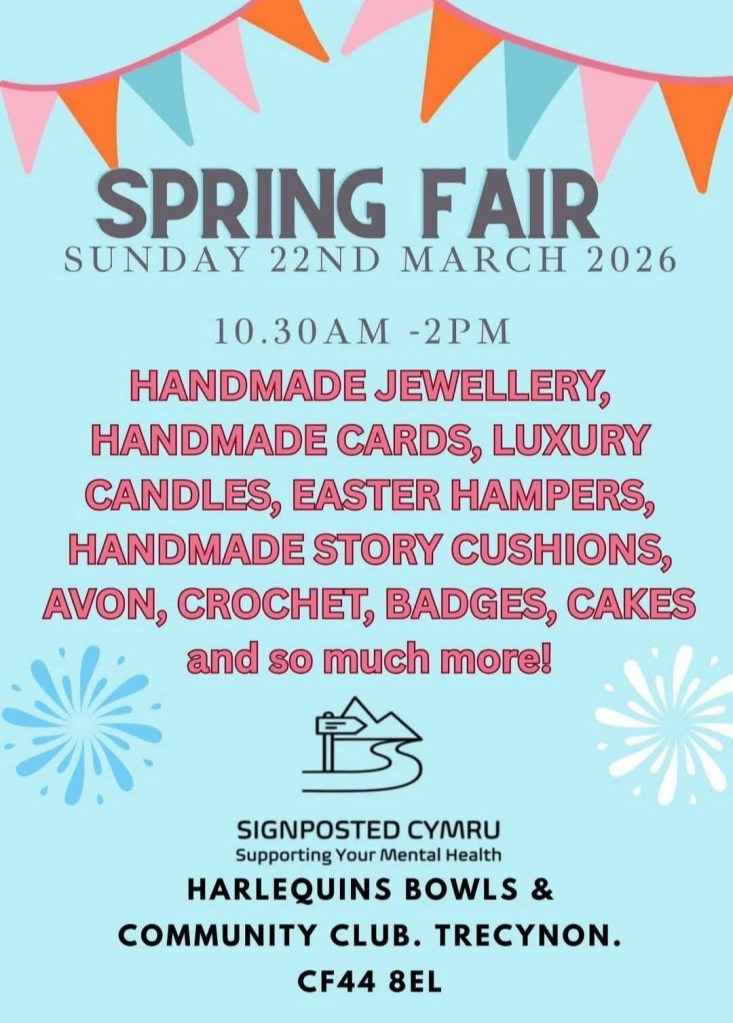
Supporting Signposted Cymru a local mental health charity.
The craft fair is taking place at Harlequins Bowls and community club, Trecynon, Aberdare, CF44 8EL


Rhymes and Reasons for Every Season
If I sits, I knits
The heart and science of birth

You must be logged in to post a comment.