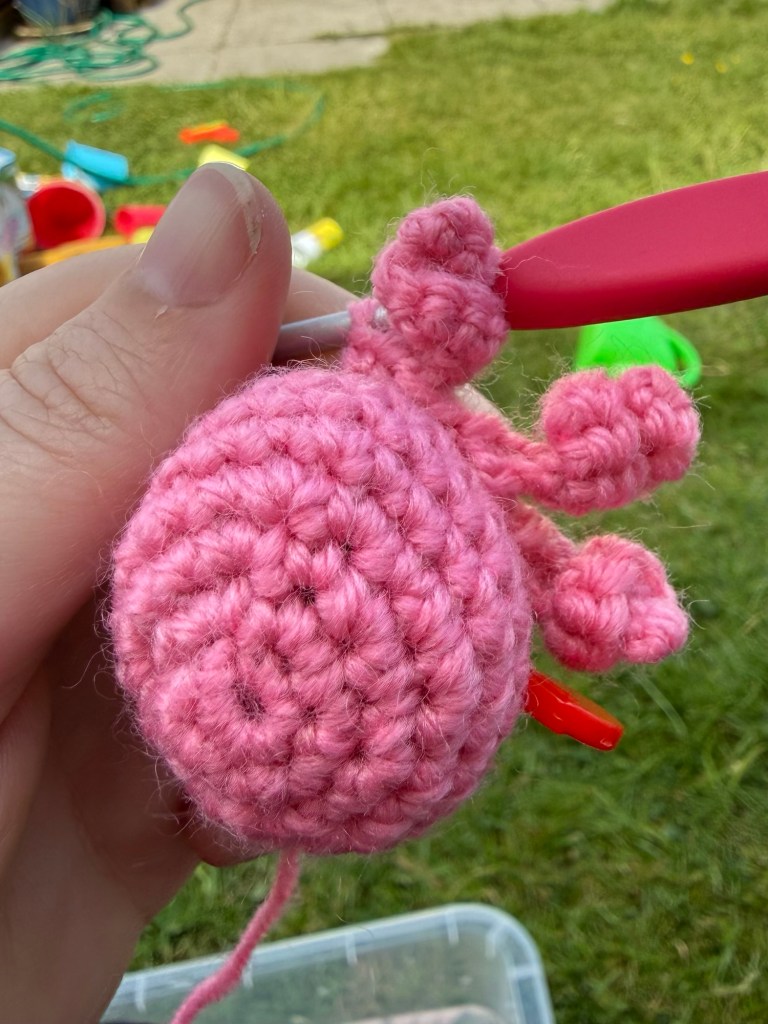
Yep, it’s another octopus! This time a rainbow 🌈 one ❤️🧡💛💚🩵💙💜🩷🤍
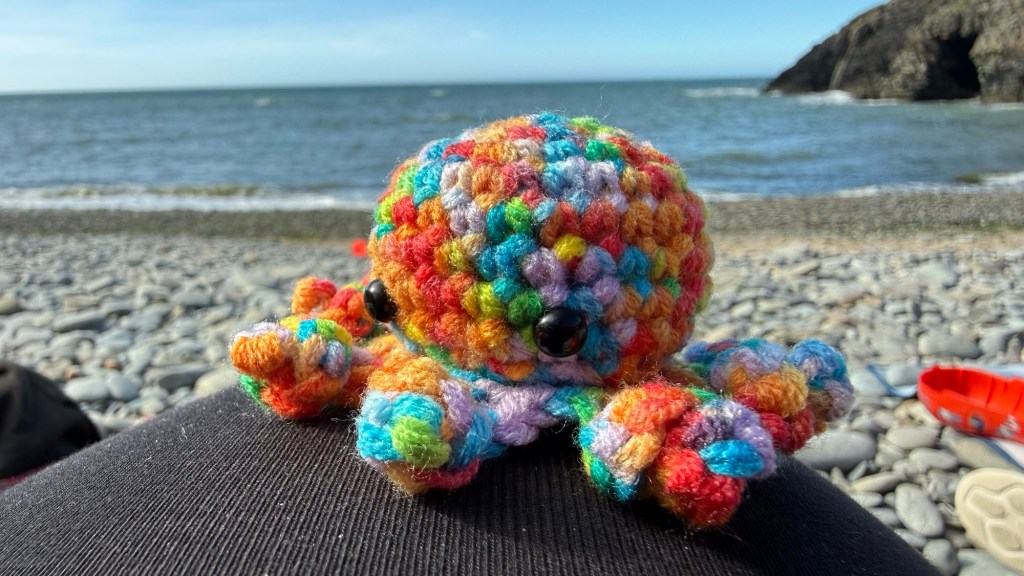
My 10yo and 3yo immediately started arguing over it so I’ll just have to made another one!
Made with this DK acrylic rainbow yarn and these 6mm safety eyes.

My personal blog, crafts, sewing, crochet, knitting, drawing, digital art, costume…
Yep, it’s another octopus! This time a rainbow 🌈 one ❤️🧡💛💚🩵💙💜🩷🤍
My 10yo and 3yo immediately started arguing over it so I’ll just have to made another one!
Made with this DK acrylic rainbow yarn and these 6mm safety eyes.
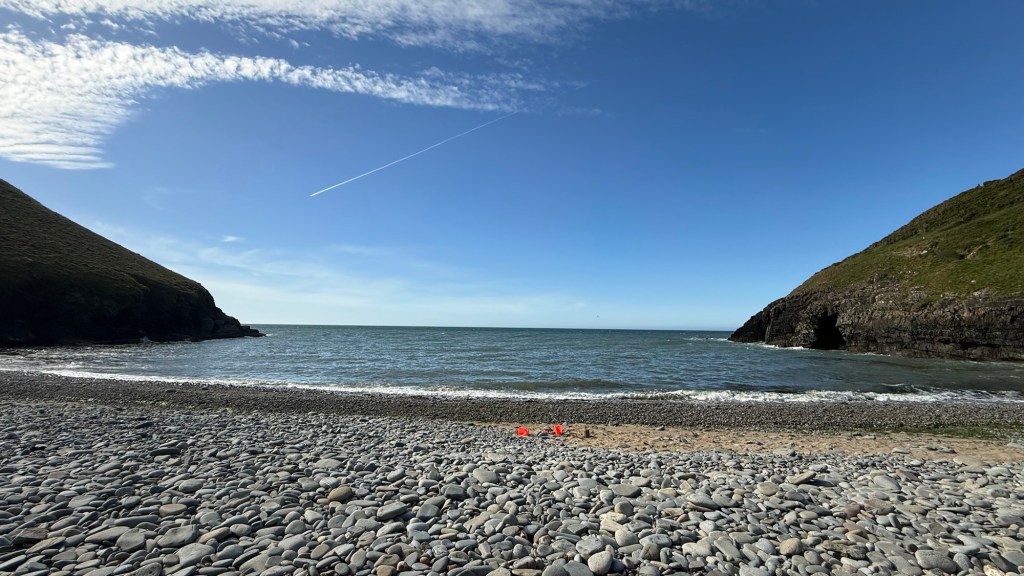
We’re on holidays in Aberaeron at the moment, luckily having some lovely sunshine!

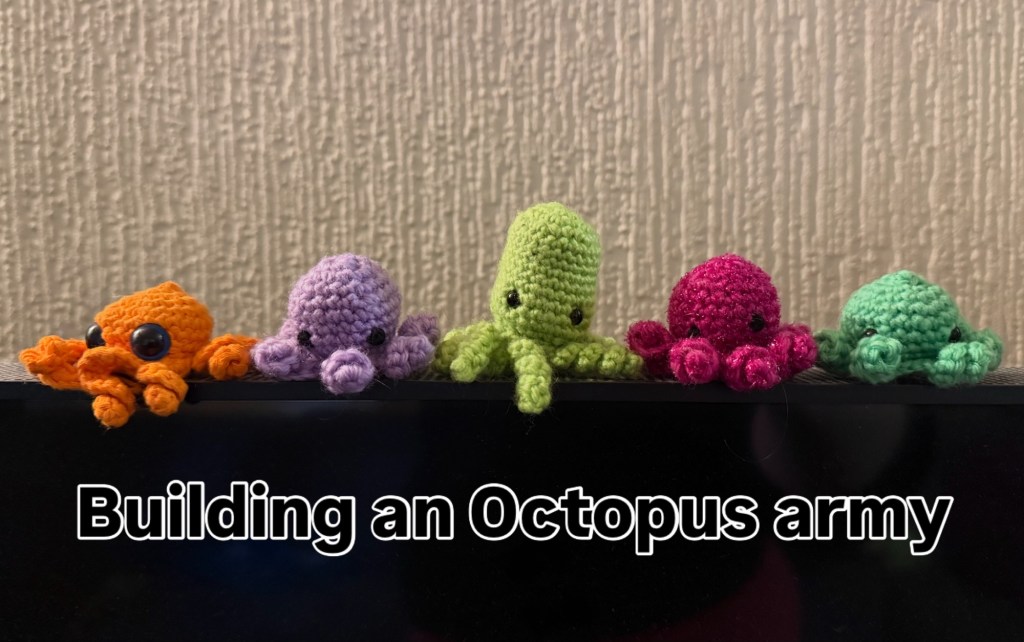
So obviously I’ve got to make a few octopuses!
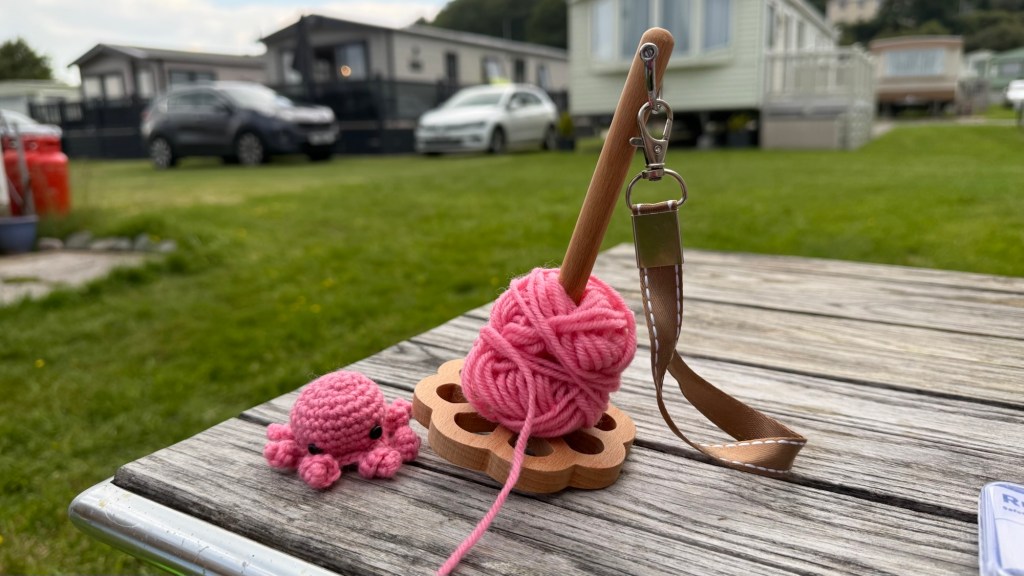
Ive been having a go of this yarn holder today which has been awesome.
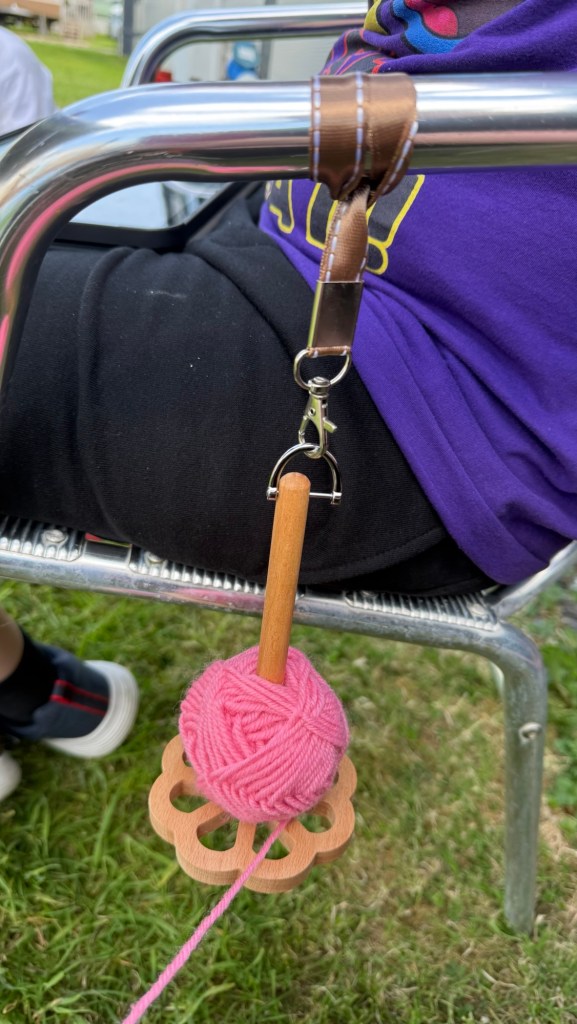
You pop the yarn onto the holder, and either have it around your wrist or, what I did was attach it to the chair next to me (my son didn’t mind too much!)
It was great! It worked really well and saved me doing what I usually do and have my yarn on the floor, rolling around in the grass picking up whatever is about! So my yarn stayed lovely and tidy and grass free.
Definitely recommend if you want one follow this link here to buy ❤️ You get a wristlet and a long crossbody lanyard holder too!
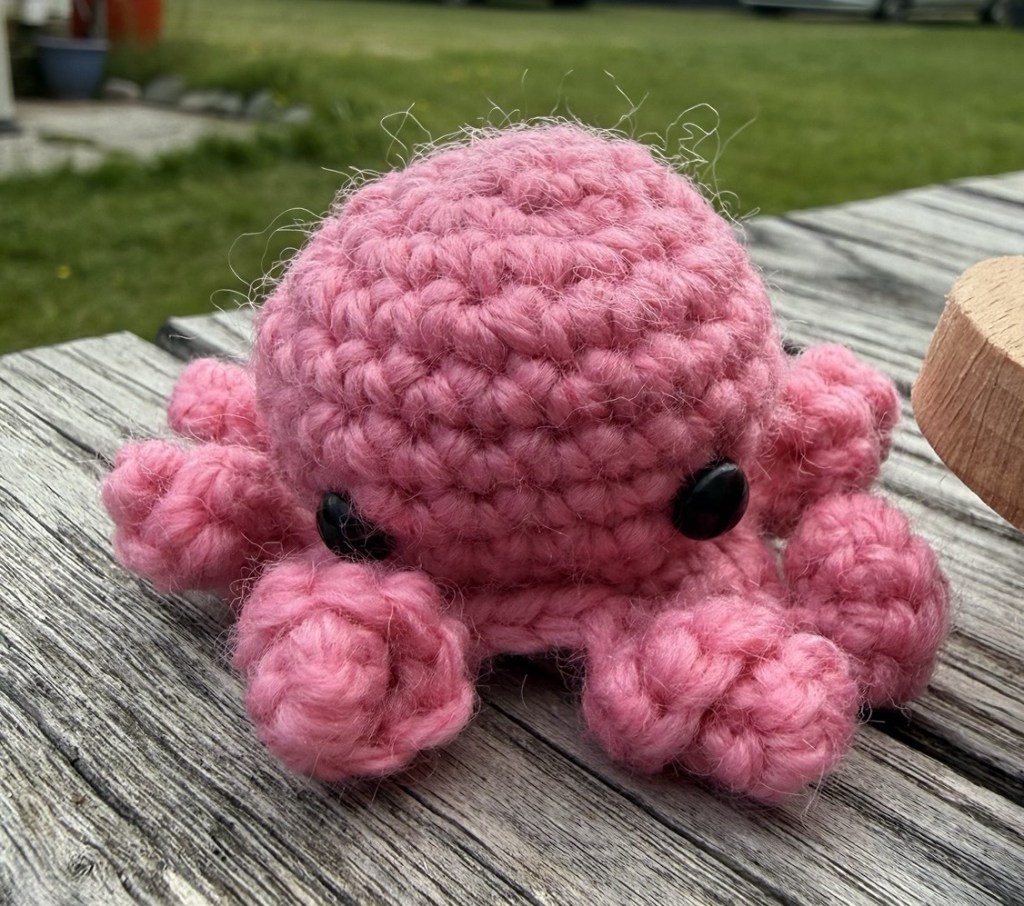
I also used these 6mm safety eyes on all my octopuses 🐙
Hope you like my lovely octopuses, I have included Amazon associate links if you’re interested in any of the products I’ve used.
Thank you Diolch for reading ❤️
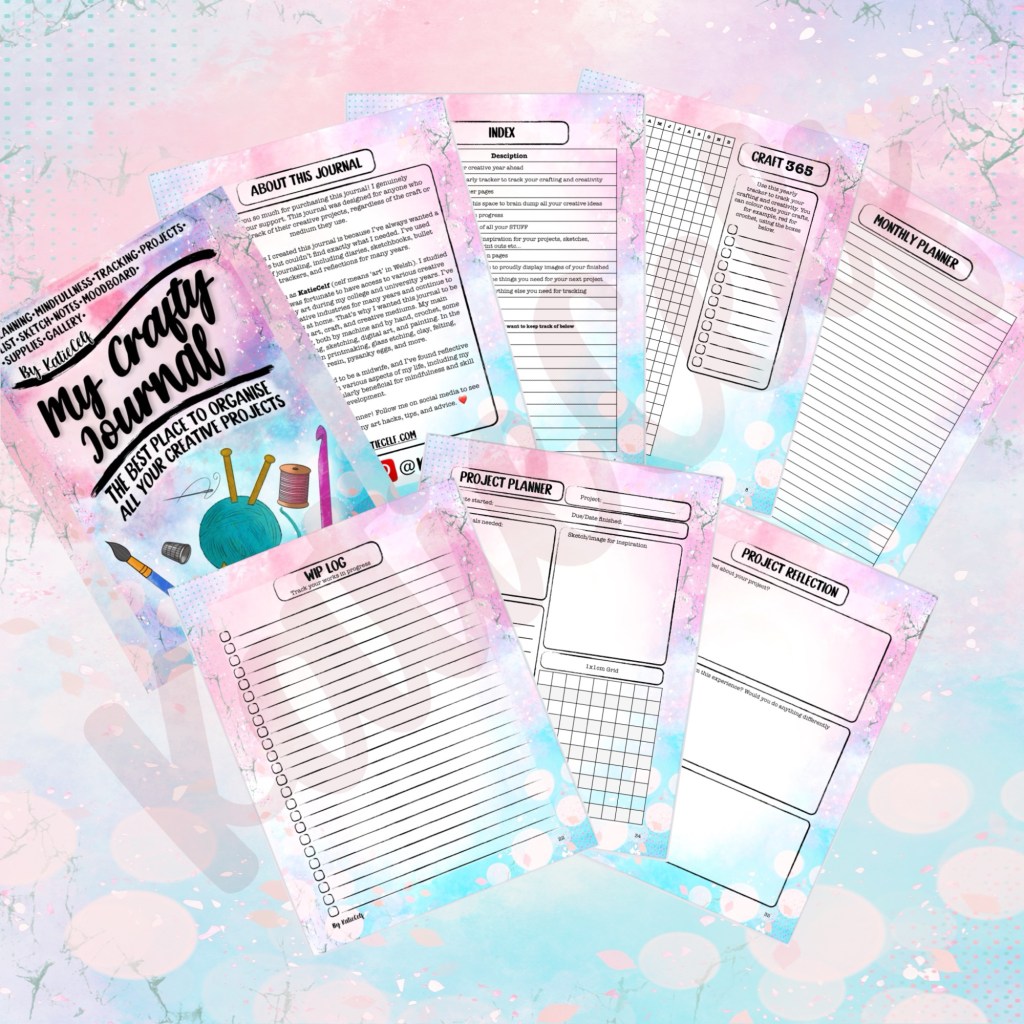
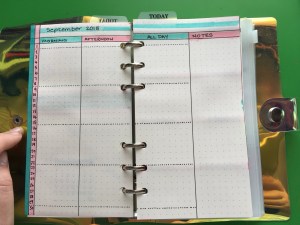
I designed my Crafty Planner nearly a year ago, but I’ve just made it available as a digital download on my Etsy shop available here.
A versatile creative journal designed to support artists and crafters in organising, tracking, and reflecting on their projects across varied mediums.
Journal includes:
Index
Ultimate to do list
365 Craft Checker
Dox matrix page
Moodboard page
Stash tracker
Project planner
Project reflection
Mind map
Sketch page
Project to do list
WIP (work in progress) Log
Stash wish list
Makes Gallery
Lined notes page
And for Planning, undated:
Yearly Future log
Monthly planner
Weekly planner
Daily planner, with priority matrix
PDF file compatible with iPad iOS notes, notability, Goodnotes. Duplicate the pages you need and move them around to suit you.
Works well with Apple Pencil handwritten notes and typed text.
Suites all types of crafts, drawing, painting, crochet, needling felting, knitting, sewing….
It is also printable!
If you are untested in a fully printed paperback or hardback, they are available on Amazon.


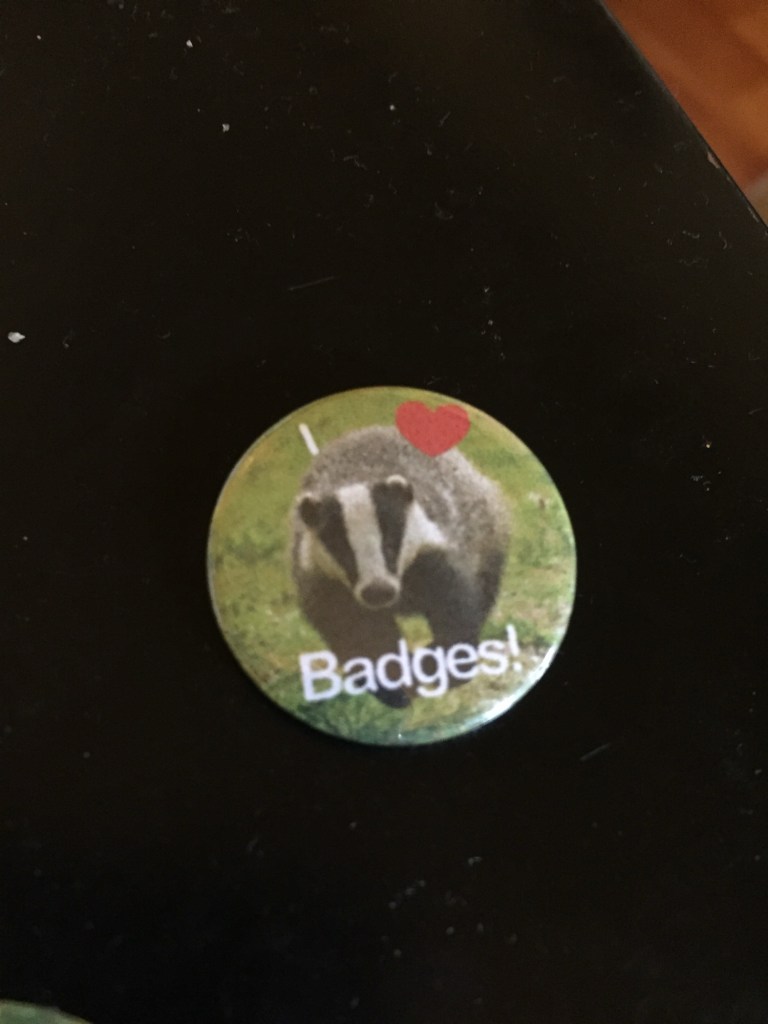
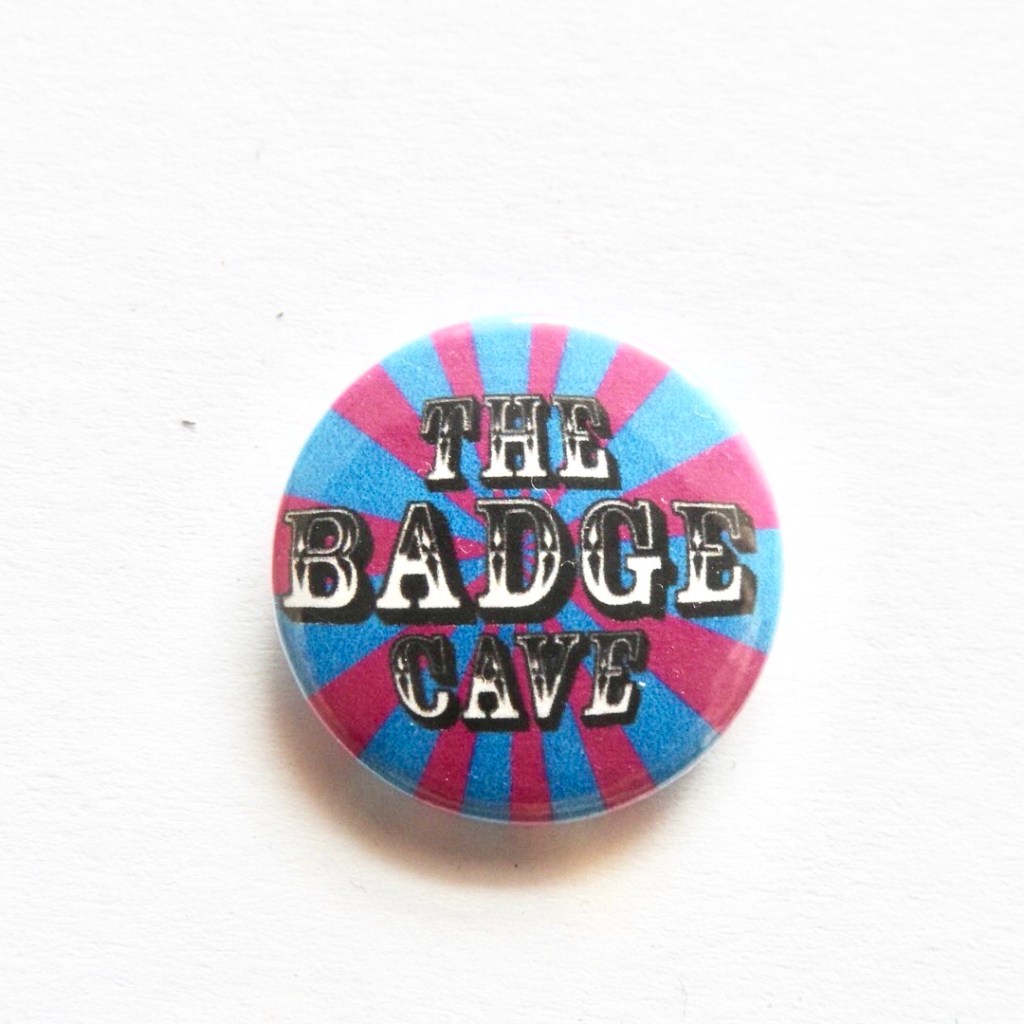
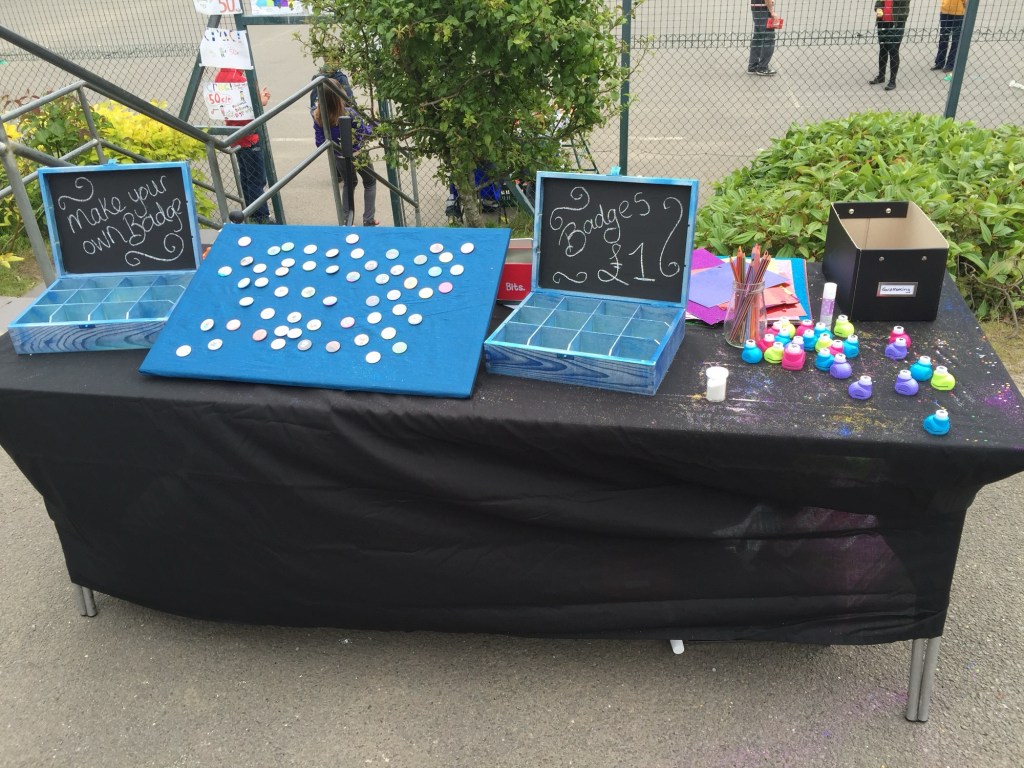
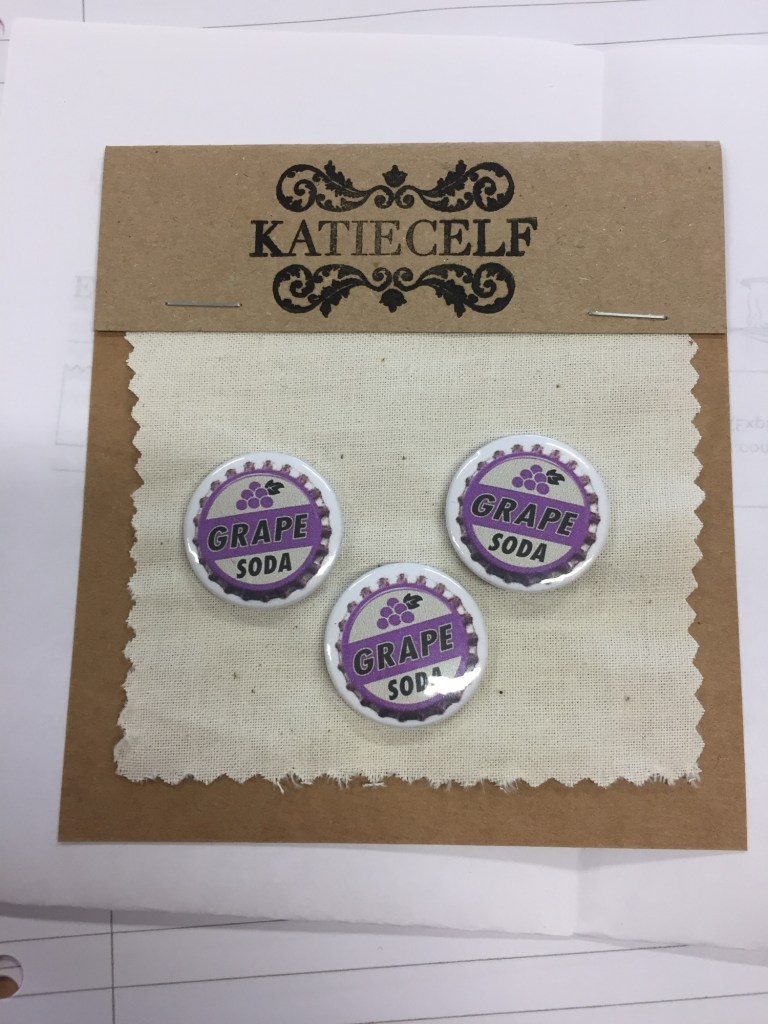
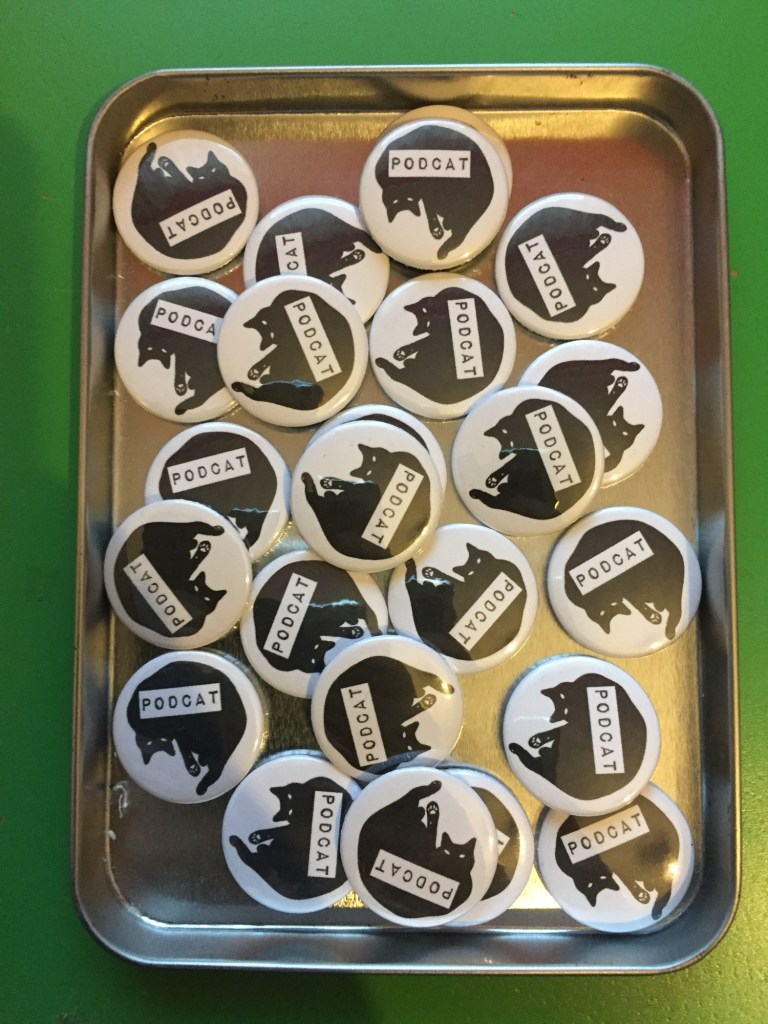
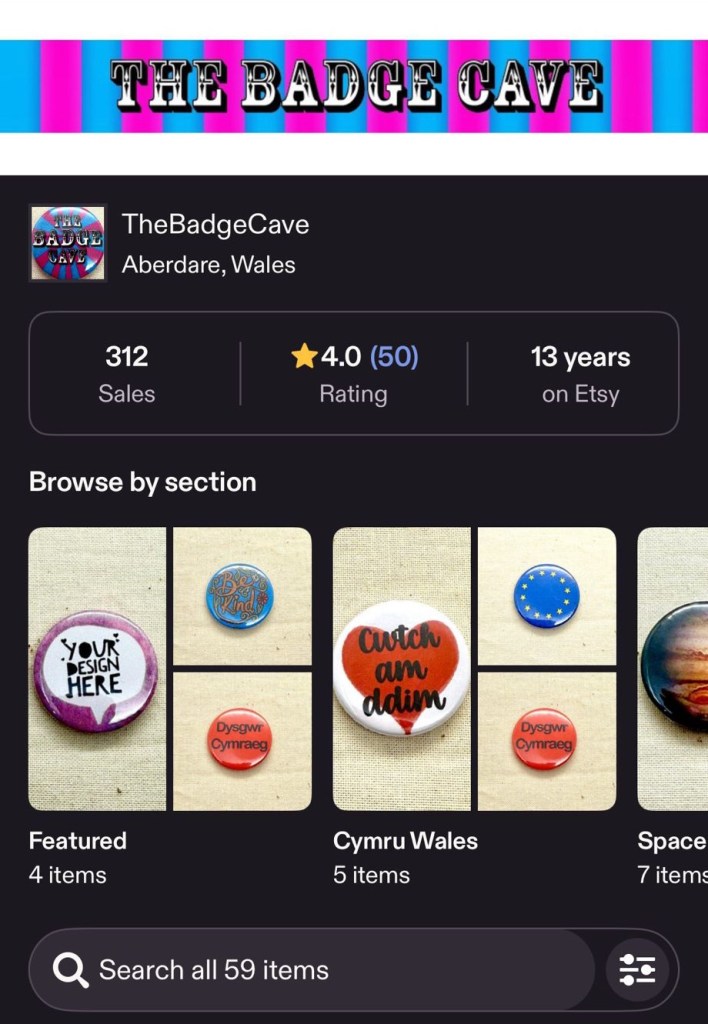
I’ve reopened my Etsy shop The Badge Cave!

I’ve got lots of 25mm pin badges available as well as customisable badges. I will make your your badge designs for you ❤️
I stopped my shop while I was doing my degree but I’m back and will be uploading new designs soon.


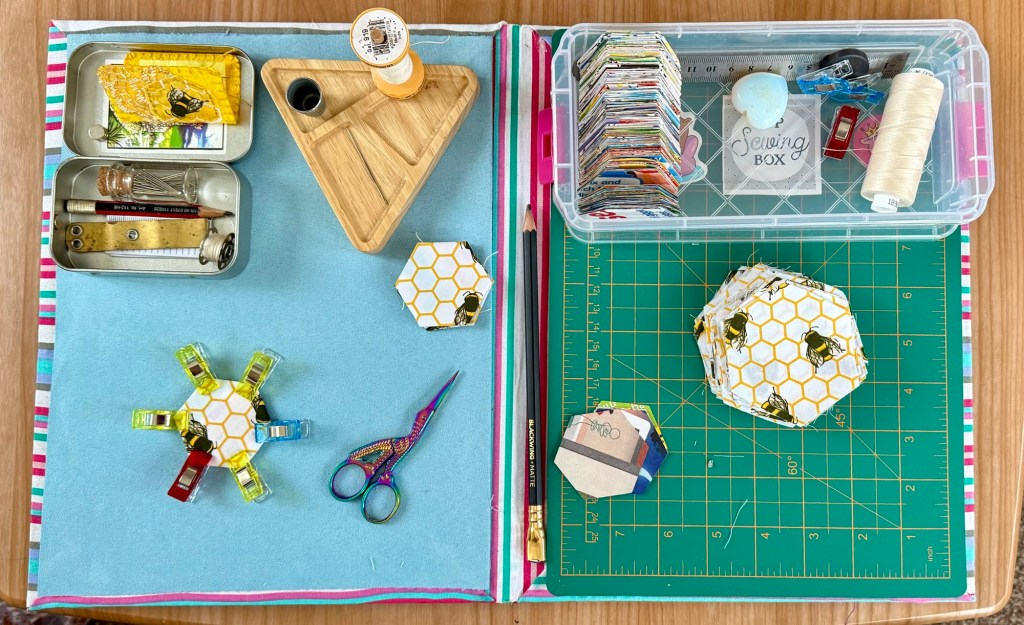
It’s been a while! It’s a great project for when we’re away in the caravan. It’s been 5 years since I started this project in lockdown and it’s still toddling along.
Like I’ve said before, I don’t mind how long it takes, it’s more about the process than the end result.
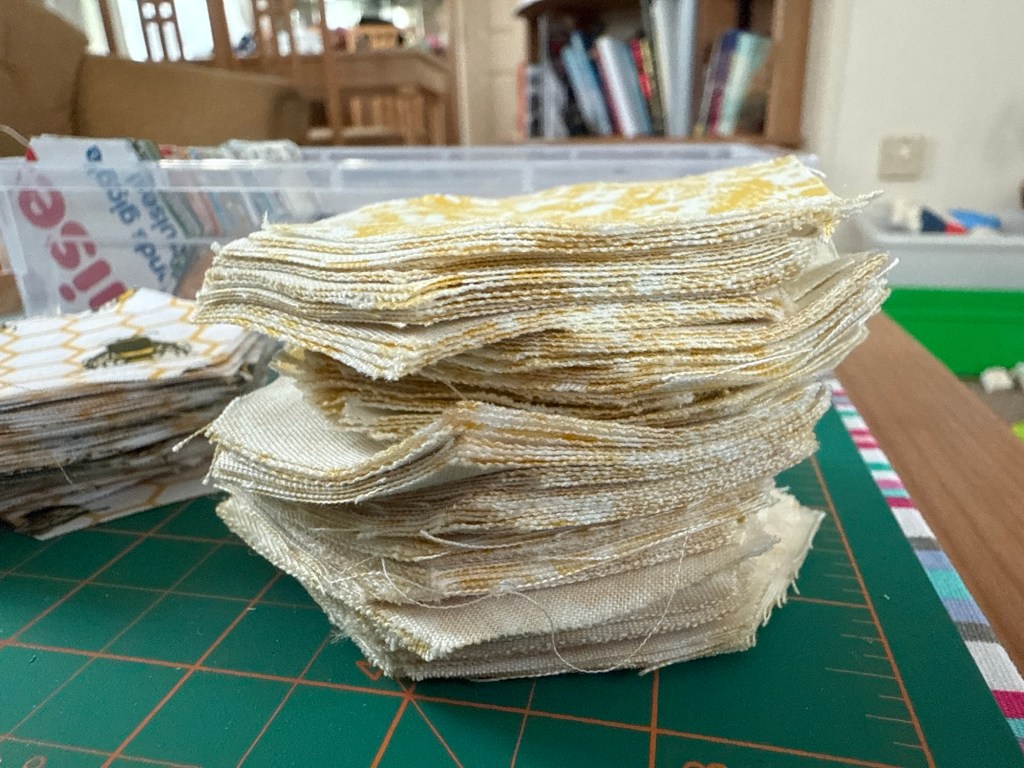
I’ve still got quite a few chunks of cut hexis ready to prep.
This is what I’ve sewn together so far…
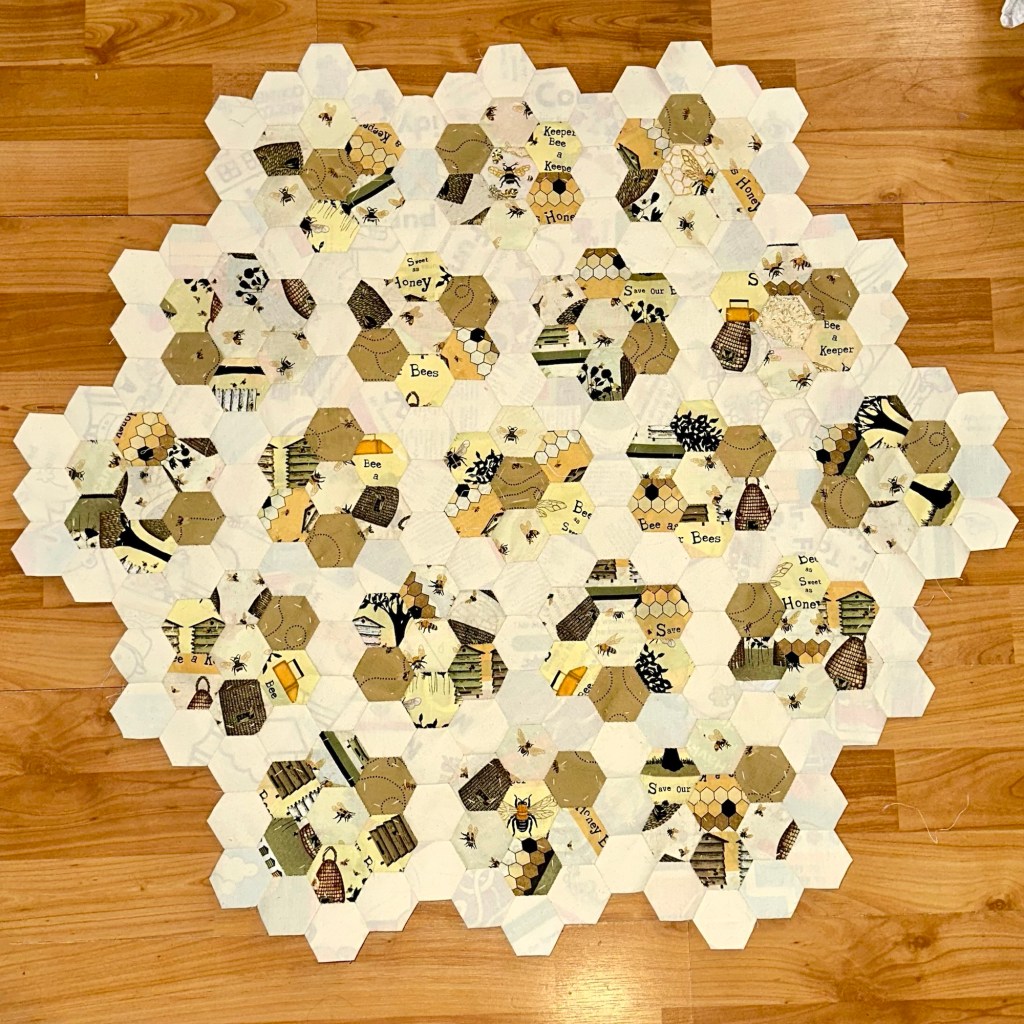
I’m not sure if I want to continue this pattern or to make it more random and less calico plain hexis. Not sure yet… we’ll see!
When I get my physical copy of my new crafty journal, I’m looking forward to putting my EPP project into it! It’ll definitely help me come up with some more design and layout ideas for my EPP quilt ❤️🐝
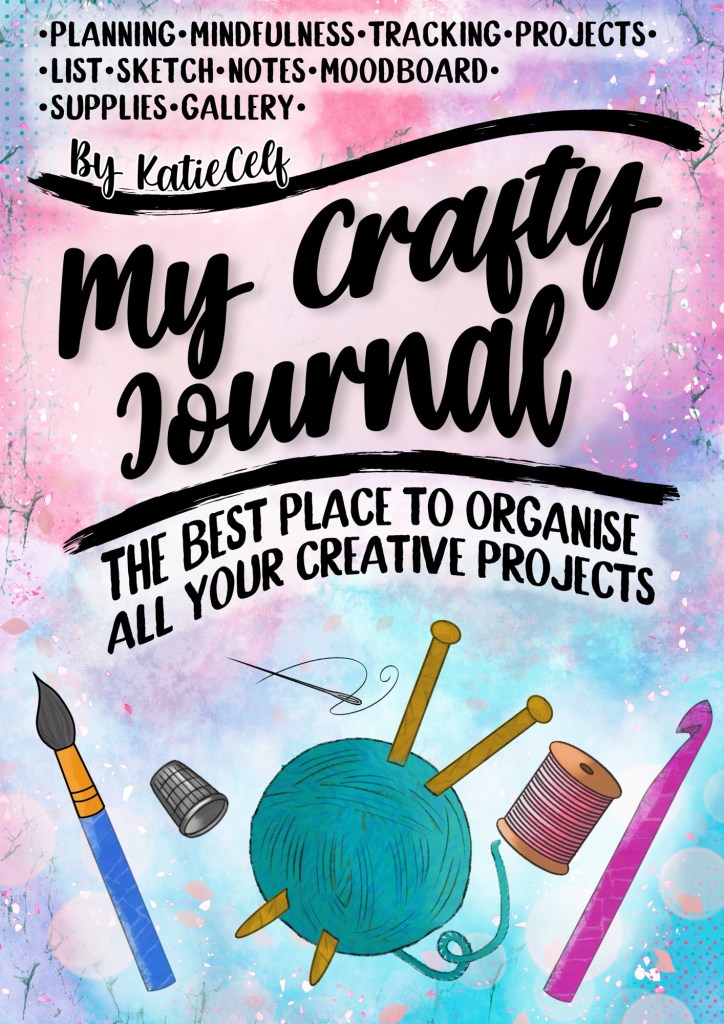
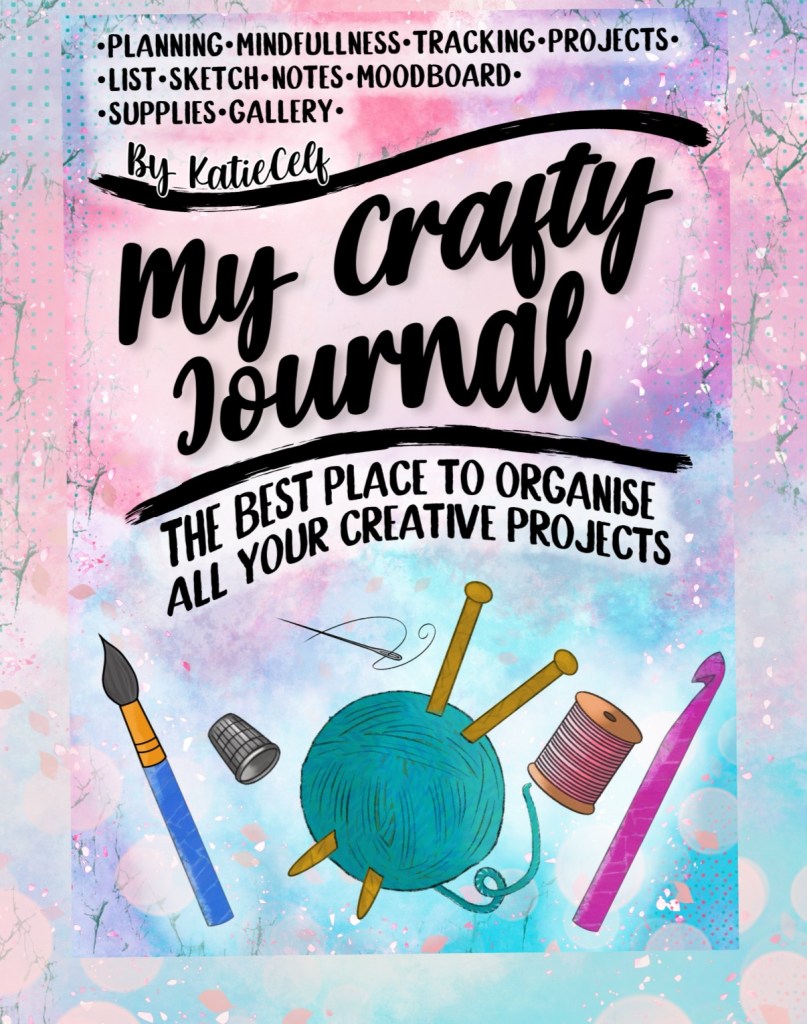
I’ve designed a crafting journal and launched it today on Amazon KDP!
My Crafty Journal available now on Amazon!
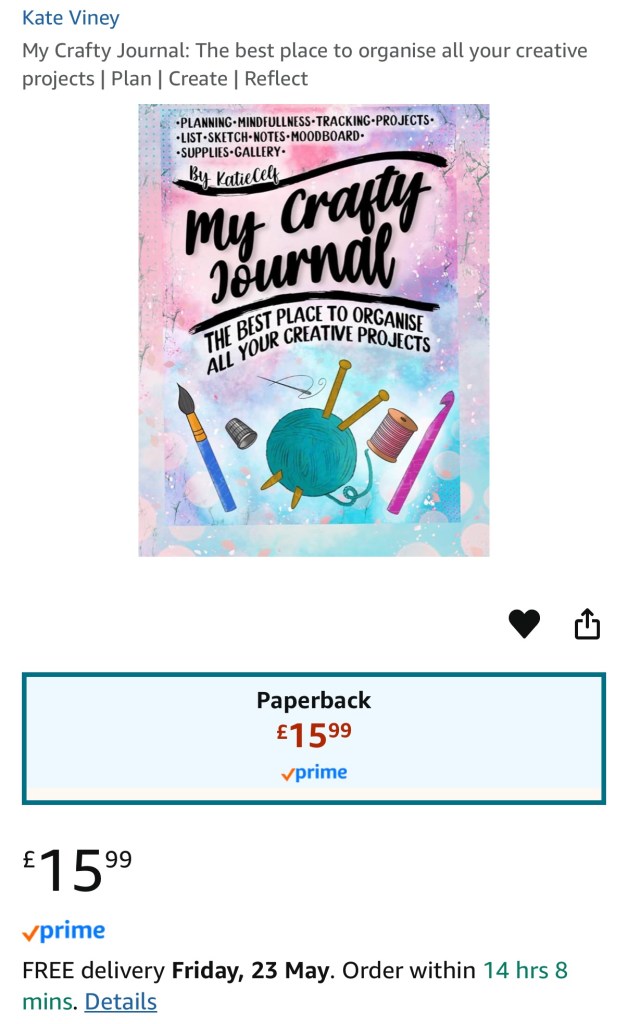
My Crafty Journal: The best place to organise all your creative projects | Plan | Create | Reflect
Overview
A comprehensive journal for tracking and managing creative projects across various mediums
Journal Features
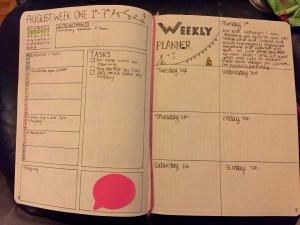
1. Ultimate To-Do List – Space to brain dump creative ideas
2. Craft 365 Tracker – Yearly creativity tracking
3. Project Planner
Sections for: Project details, Materials needed, Inspiration sketch, Notes
4. Project Reflection prompts for: Emotional assessment, Learning experiences, Future improvements
5. Additional Tracking Tools: Moodboard, Stash Tracker, Stash Wish List, WIP (Work in Progress) Log, Makes Gallery, Mind Map, Sketch Pages
6. Planning Sections: Future Log, Monthly Planner, Time-blocking
Key Points
A versatile creative journal designed to support artists and crafters in organising, tracking, and reflecting on their projects across multiple mediums.
My Crafty Journal: The best place to organise all your creative projects | Plan | Create | Reflect
Thank you 🙏
I’ve been using bullet journaling to organise my brain since around 2016, so nearly 10years now! But I’ve always loved having some sort of physical diary, planner or tracker so I can keep tabs on everything going on.
There’s something about the physical act of hand writing an event or appointment in a journal or diary that cements it into my brain and prevents it getting lost in all the other mental coming and going’s.
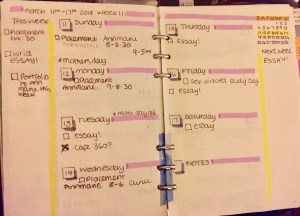

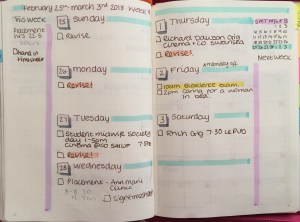


I’ve tried to use digital planners a few times and even made my own but I don’t get the same sense of “setting it“ into my brain.
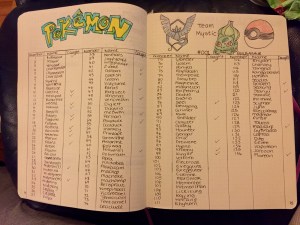
This year I’ve been able to prioritise making again. Partly due to ill health meaning I’ve had to take some time off work, but also because I’ve been using it as a form of therapy and recovery.
Making things is a proven way to improve your mental health.
With all my new crafting, has come many ideas for new makes. So much so that my tiny little brain can’t keep track of them all. I started looking for ideas on tracking creative projects. Everything I saw online didn’t really cover what I wanted though.
So, I decided to make my own. Originally I thought maybe I could make a printable version and put it on Etsy etc but then I learnt about kindle direct publishing…
My Crafty Journal available now on Amazon!
My Crafty Journal: The best place to organise all your creative projects | Plan | Create | Reflect
Rhymes and Reasons for Every Season
If I sits, I knits
The heart and science of birth

You must be logged in to post a comment.