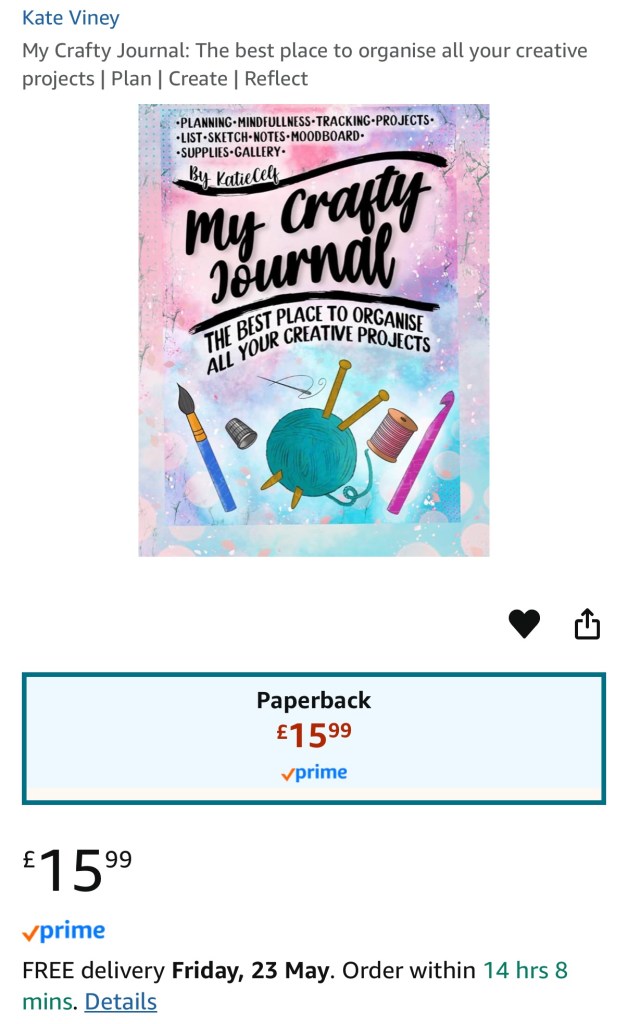
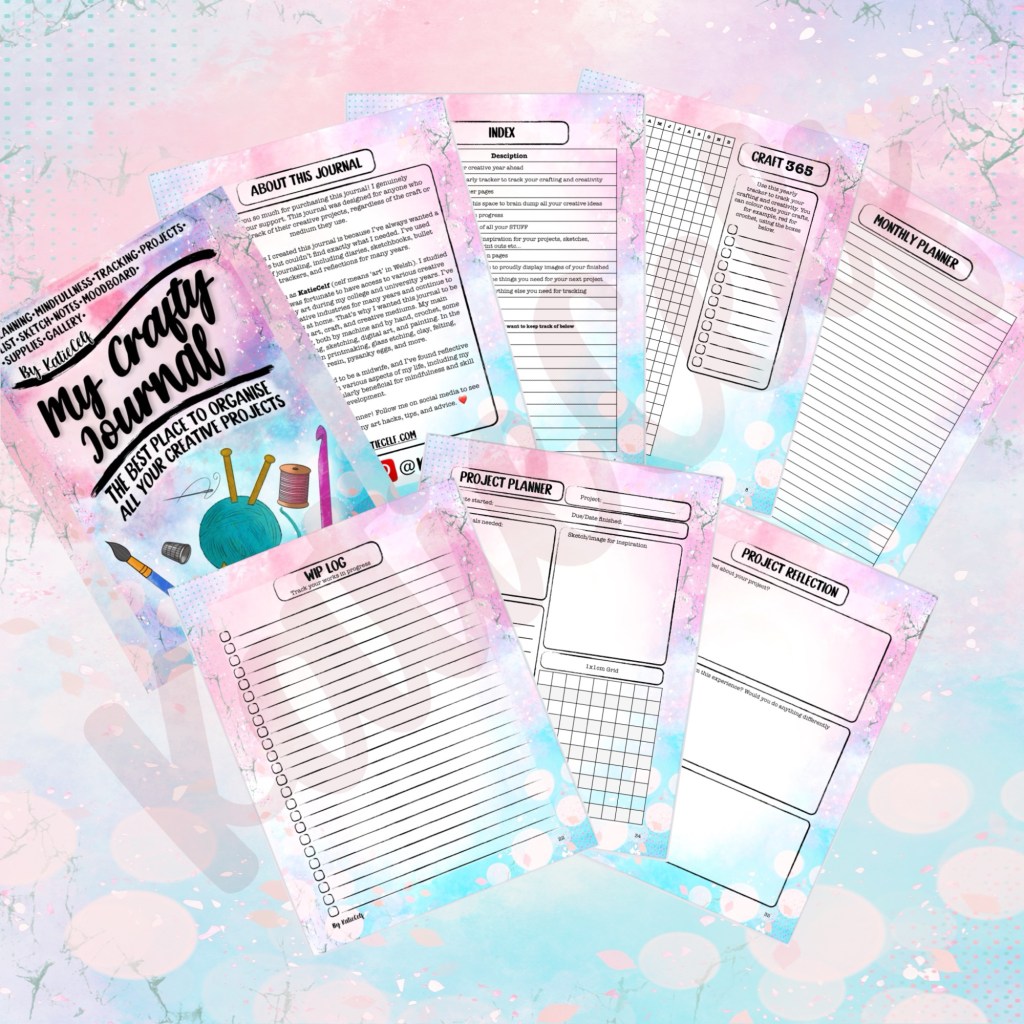
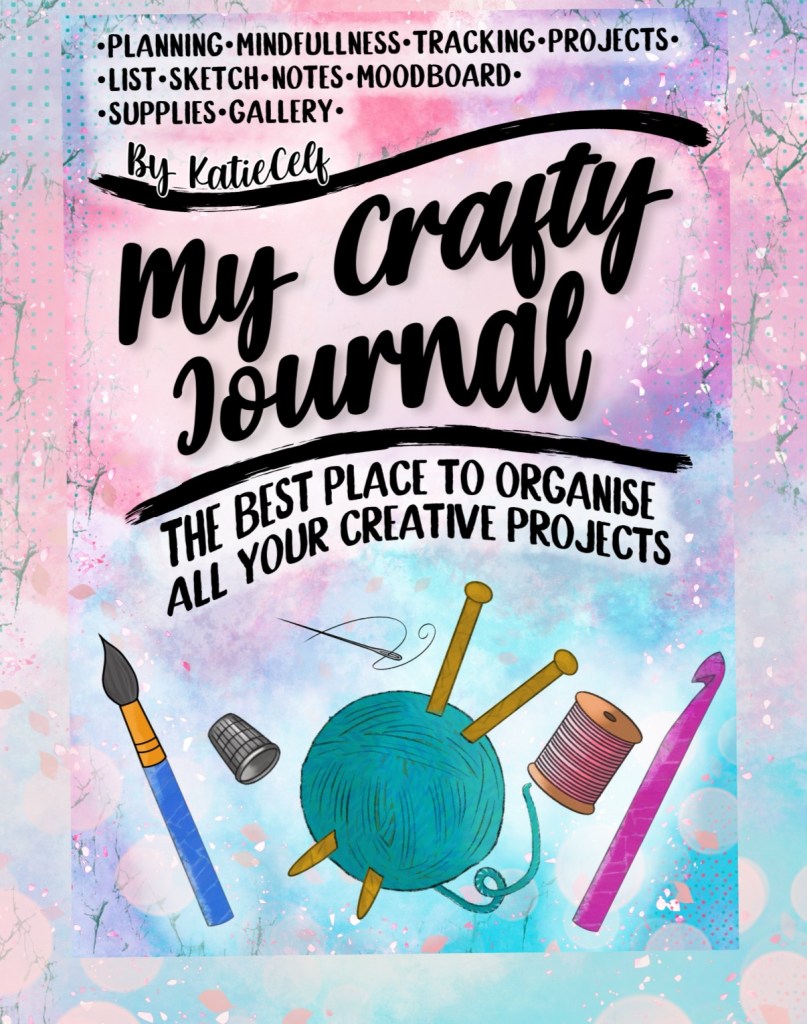
A versatile creative journal designed to support artists and crafters in organising, tracking, and reflecting on their projects across multiple mediums.
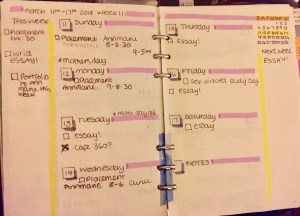
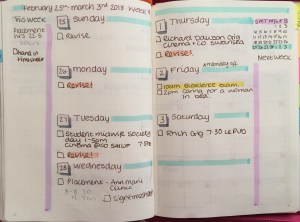
I’ve been using bullet journaling to organise my brain since around 2016, so nearly 10years now! But I’ve always loved having some sort of physical diary, planner or tracker so I can keep tabs on everything going on.
There’s something about the physical act of hand writing an event or appointment in a journal or diary that cements it into my brain and prevents it getting lost in all the other mental coming and going’s.
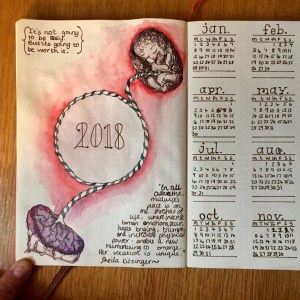
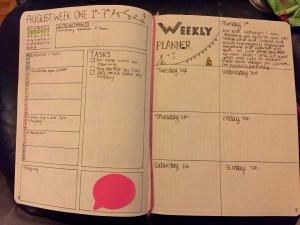
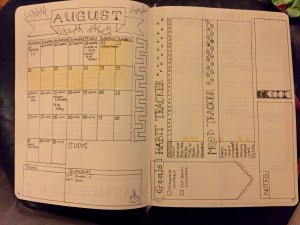
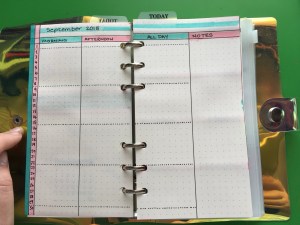
Examples of some of the ways I’ve used bullet journaling in the past and how I’ve evolved it to be more functional and easier to set up over the years
I’ve tried to use digital planners a few times and even made my own but I don’t get the same sense of “setting it“ into my brain.
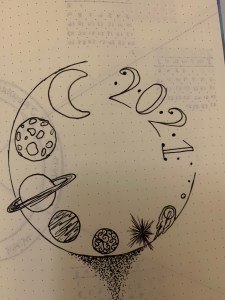
This year I’ve been able to prioritise making again. Partly due to ill health meaning I’ve had to take some time off work, but also because I’ve been using it as a form of therapy and recovery.
Making things is a proven way to improve your mental health.
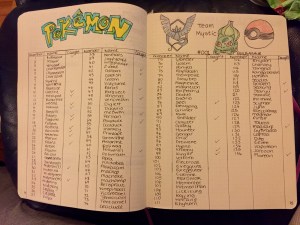
With all my new crafting, has come many ideas for new makes. So much so that my tiny little brain can’t keep track of them all. I started looking for ideas on tracking creative projects. Everything I saw online didn’t really cover what I wanted though.
So, I decided to make my own. Originally I thought maybe I could make a printable version and put it on Etsy etc but then I learnt about kindle direct publishing…
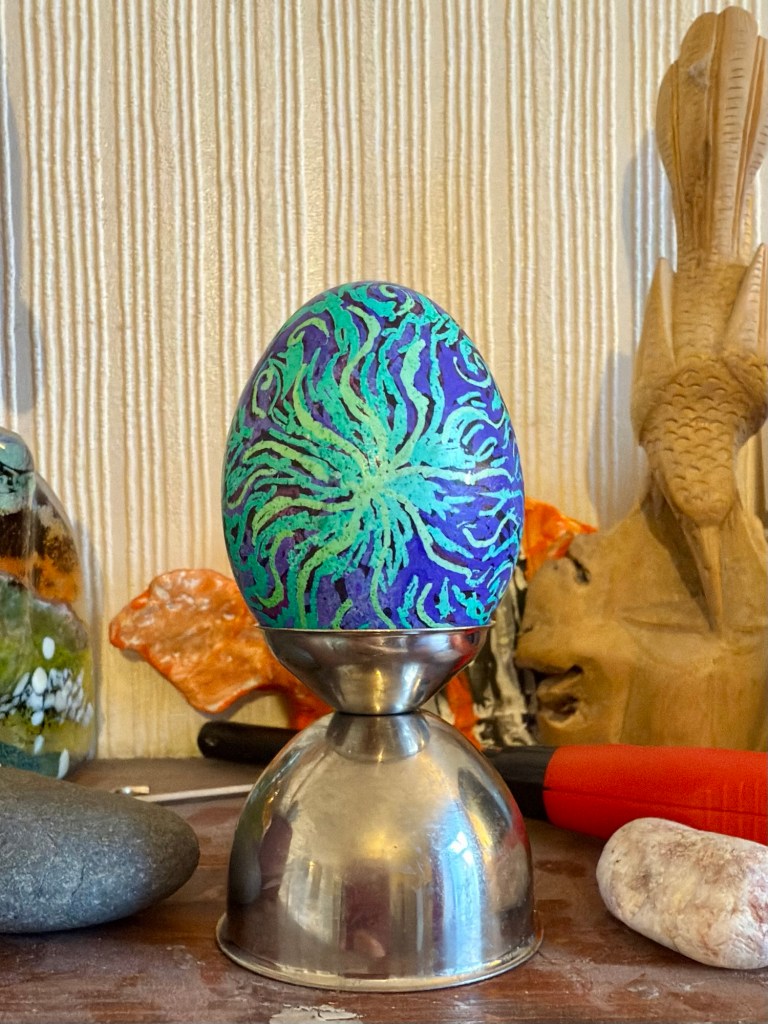
Ukrainians have been decorating eggs, creating these miniature jewels, for countless generations. There is a ritualistic element involved, magical thinking, a calling out to the gods and goddesses for health, fertility, love, and wealth. There is a yearning for eternity, for the sun and stars, for whatever gods that may be.
If you’d like more info about pysanka I definitely recommend you look at Pysanky.info where there is so much info about the history and the craft today! It’s so interesting.
My attempt!
This is part of my first ever attempt at it! I really enjoyed it, it becomes meditative as you do it.
And the other side…I tried to do a bit of a traditional design but also I was still getting the hang of using the stylus and had a bit of wax that came loose and dye seeped underneath.
Using blown out eggs, the decoration process involves using the stylus tool, kistka, pictured in the foreground, scraping some beeswax into the top of the cone and gently heating it over the candle until the beeswax melts enough to produce an even thin stream of wax. Once you’ve completed part of your design you then dip the egg into dyes.
From what I understand, the dyes are vinegar based so partly etch into the egg, the wax resists the dye and once dried you repeat the process with different colours working from light to dark. Each layer will add to your design in various colours of dye!
Once you’ve completed your design, carefully hold the egg near the candle until the wax starts to melt (but being careful not to get the egg too hot and cause it to crack) and wipe off to remove the excess wax, what remains adds a sheen and protection to the egg.
My design is by no means a work of traditional pysanka, it’s me just having a go and spending time with my lovely friend having chats and basically giving each other therapy through crafts and chats!
100% recommend giving it a go, it’s an incredible craft and actual pysanka artists make incredible intricate designs ❤️ Definitely recommend having a look!
**”Pysanka” is the singular form; “pysanky” is plural – I’ve probably got it wrong throughout…
It’s so amazing. I’ve only had a little play so far, but very exciting potential. I just need to figure out how to get my designs onto it, not just the preloaded designs.
There’s a program called Inkscape with an embroidery design extension called stitchscape. It’s a free open source vector graphics design editor. I have experience using photoshop, coral painter and most recently, procreate but this has been a steep learning curve. Many tutorial videos will be watched!
I made some art on procreate based on a piece of machine embroidery I made many years ago. I’m not massively confident using procreate but here’s my attempt.
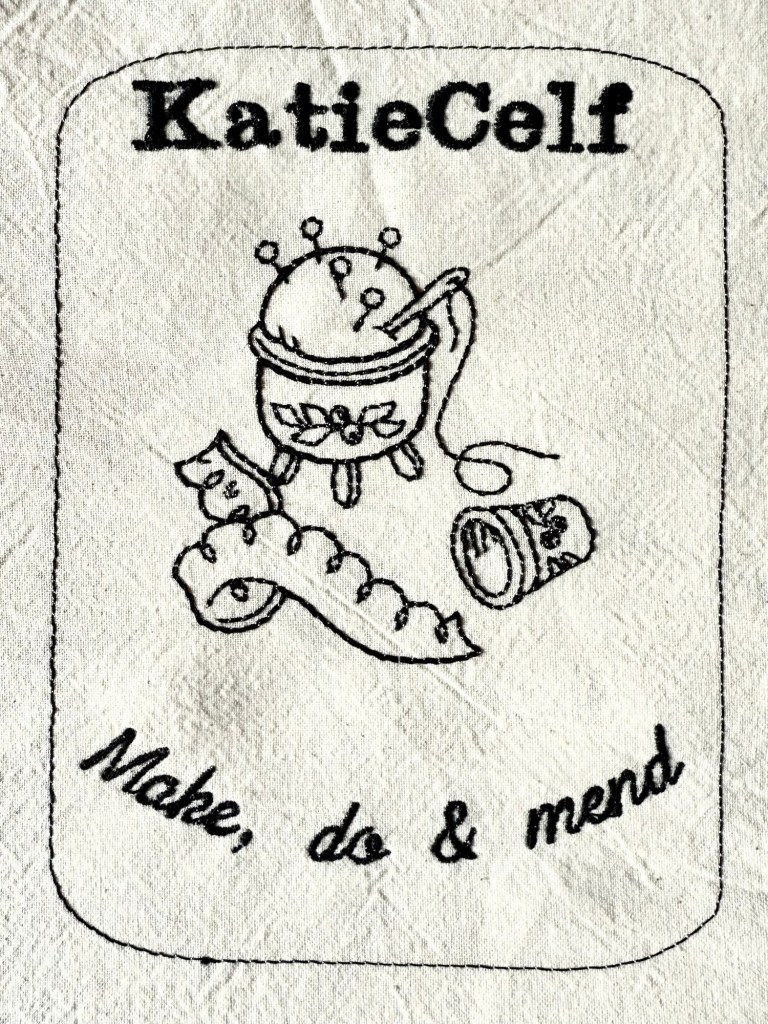
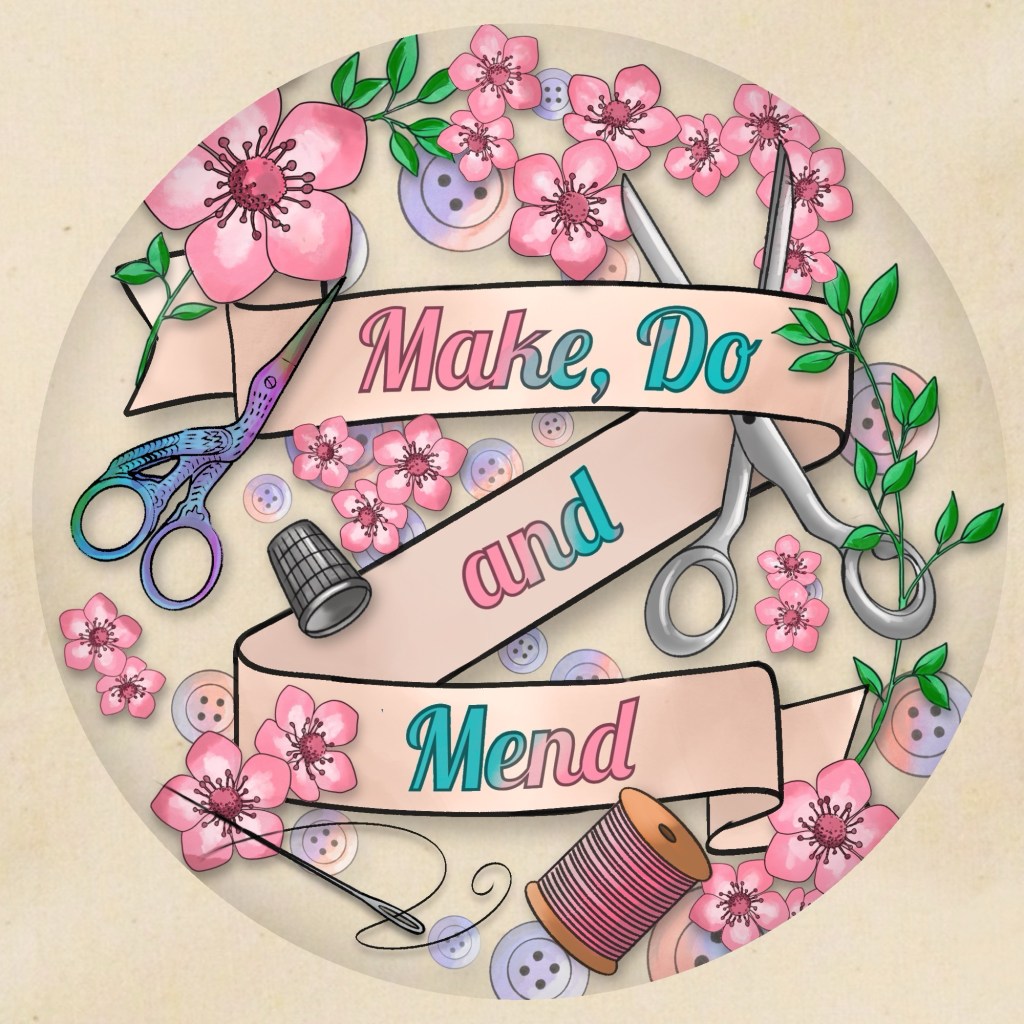
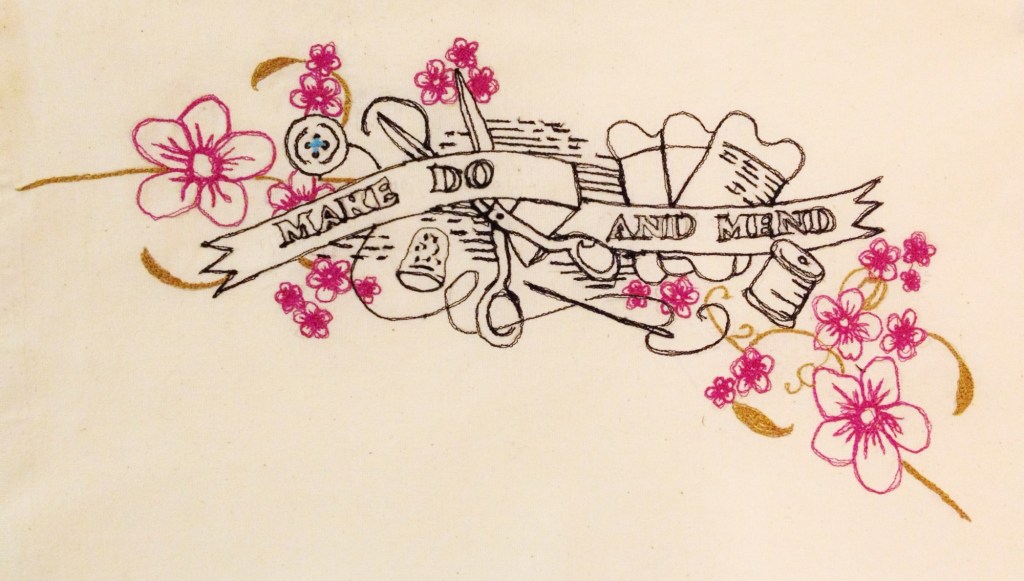
Ps I know it’s “make do and mend”, but I added the comma on purpose to reclaim the concept for modern times.
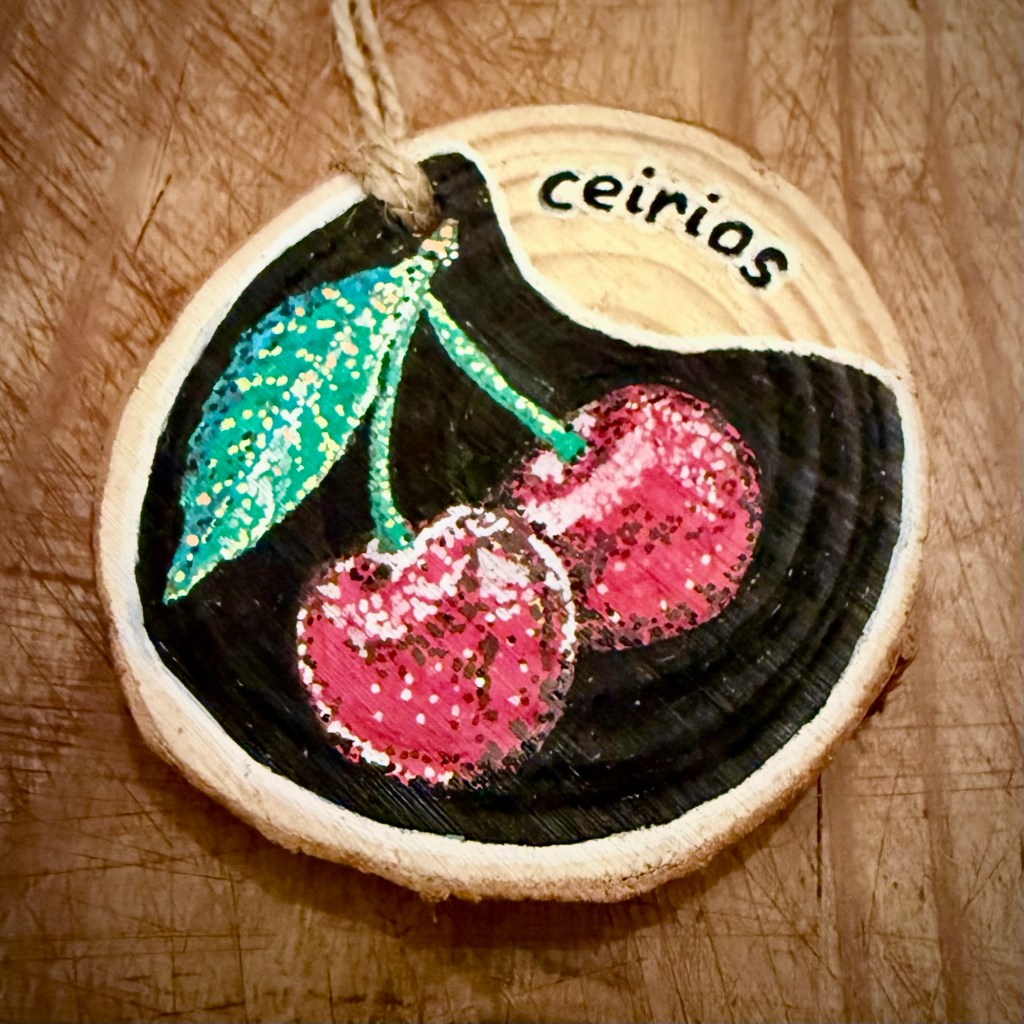
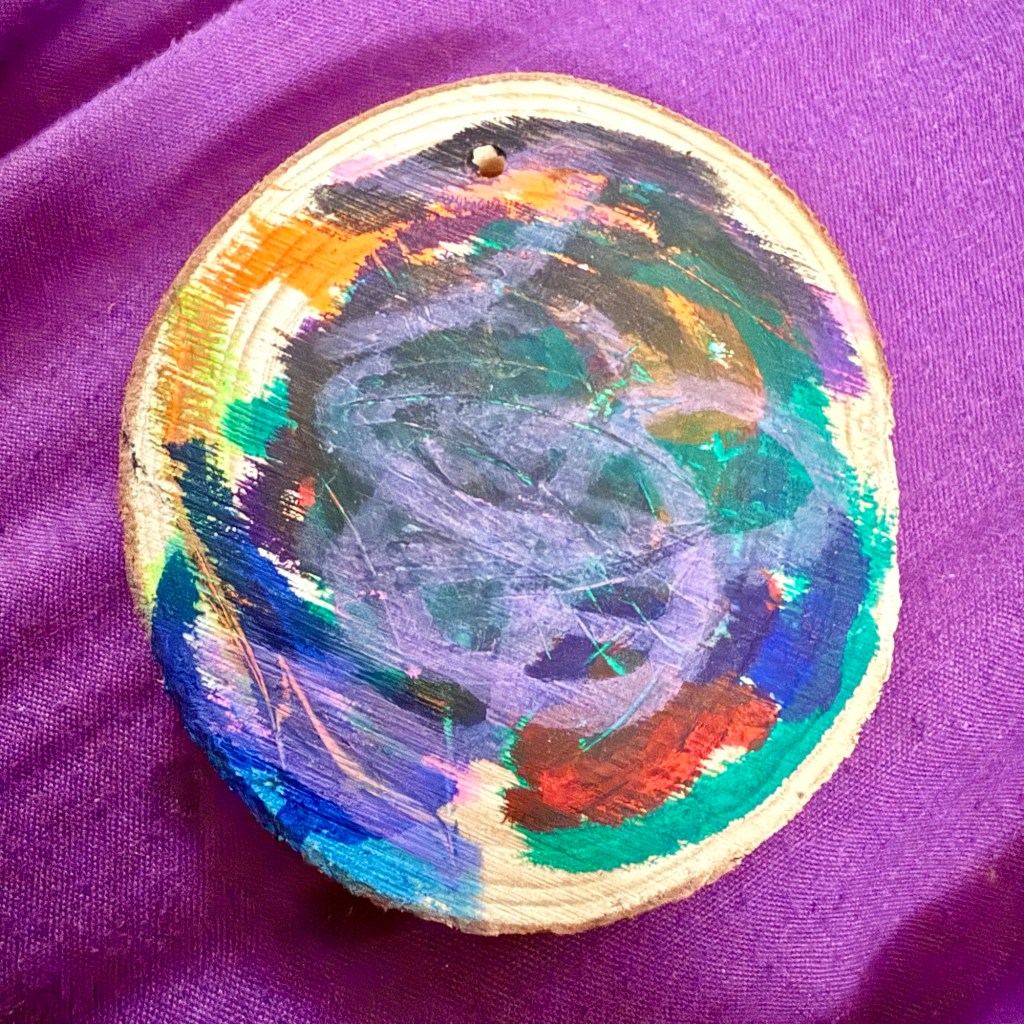
My son wanted me to help him this evening to fix a drawing he’d done on a wood cookie at forest school. And of course my 2yo daughter wanted to try too…well since everyone was doing it I wanted to play too!
Decorated wood cookie
So we got out our acrylic paint markers we’ve used for painting on pebbles and did some awesome art on our wood cookies!
My son did his name and some cool designs in purple (his favourite colour), my daughter made an incredible, multicoloured surreal extravaganza. And I did some cherries 🍒 Ceirios is my daughters name, it’s Cymraeg 🏴 for Cherry.
Art by Ceirios – All the Colours
At forest school they make awesome things from wood cookies, as well as name “badges/lanyards”. They’re awesome so I made one for Ceirios too.
Looking back through some of my old posts, I saw this picture of my old little sewing nook in our old house in Cardiff and really miss having this little space of my own to be able to sew and craft whenever inspirado takes me ❤️
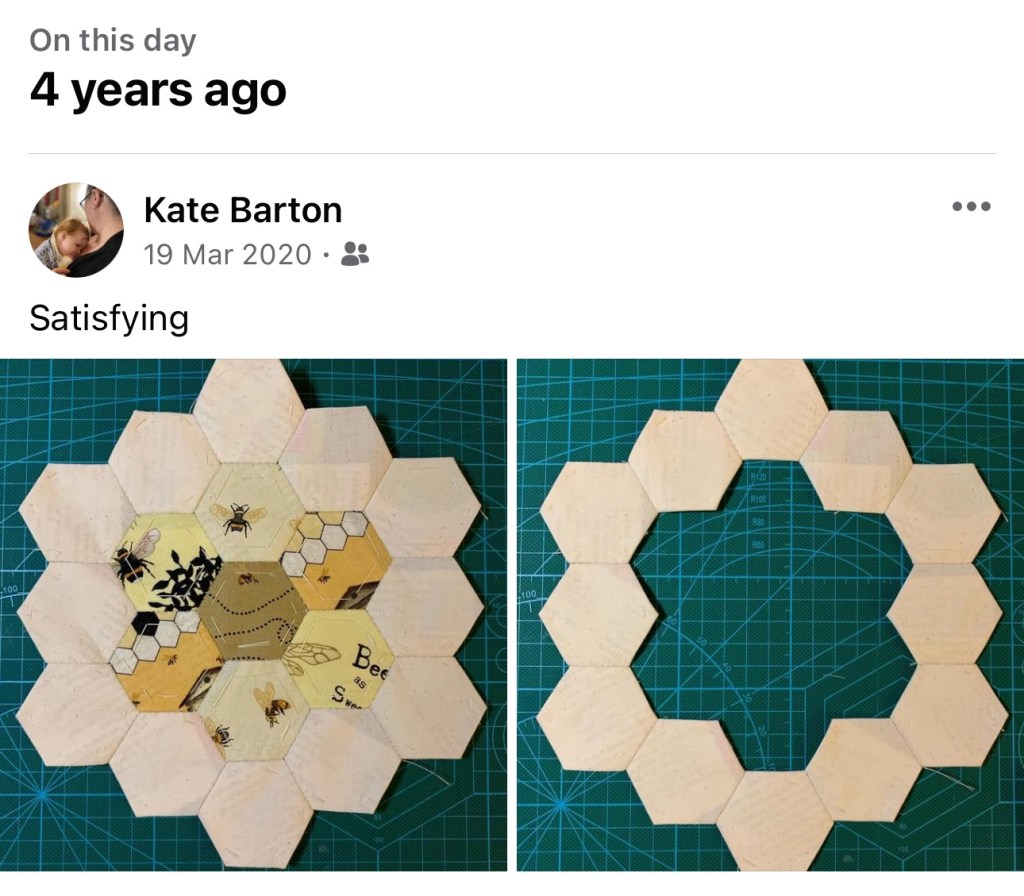
Can’t believe I started my EPP quilt four years ago, right at the start of the first Covid lockdown down. seems like an actual lifetime ago!
Since then I’ve:
Finished my degree (with a 1st) *smug*
Got a job
Had a baby 😱
Continued my EPP whenever I’ve got a spare hour or so…
Little anniversaries make you reflect on what you’ve achieved (or not) in the time that’s past.
Wonder what we’ll be doing in four years time? 🤔
I wonder how far I’ll have got with my EPP! Will I ever finish it?!
Honestly, I don’t actually mind. I know this is a long term project, it doesn’t matter how long it takes. It’s more about the process than the finished product.
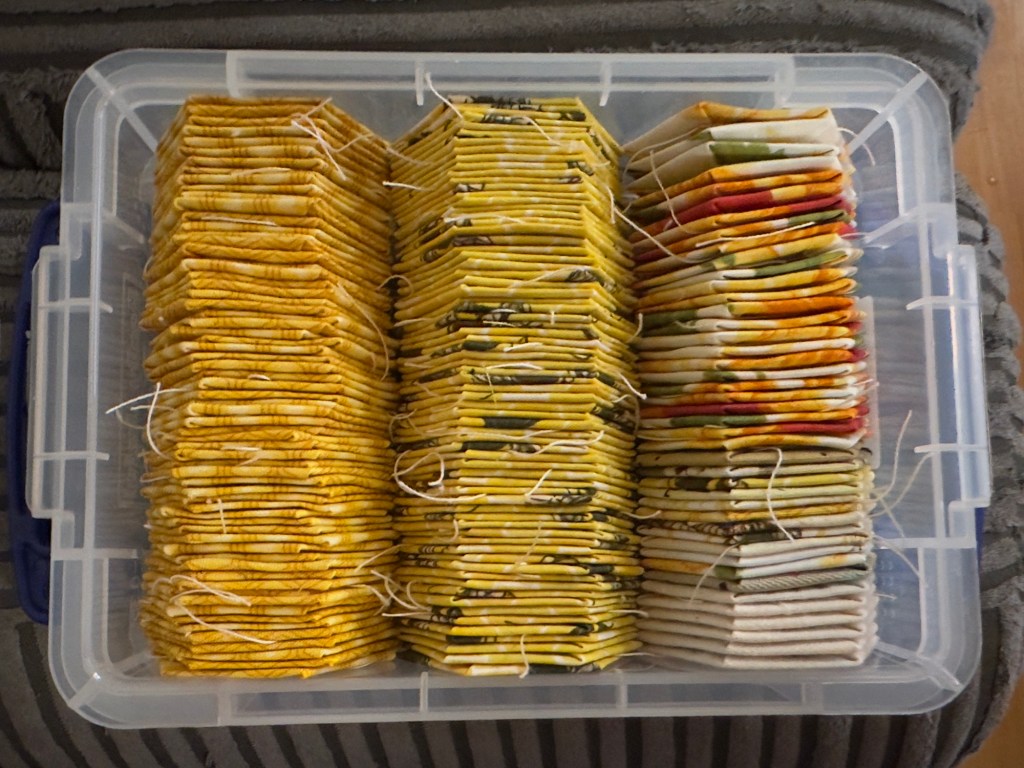
Can we just take a moment to appreciate how perfectly my hexis fit in this storage box 😍
It’s a 0.75L “really useful box”. I bought a pack of 8 from Amazon. Dimensions 19.5L x 13.5W x 5.5H cm
I’m ridiculously pleased with this! I’ve been looking for something to to store my hexis in for ages and everything was just a tiny bit too small or much too big. These are literally perfect!


You must be logged in to post a comment.